


In the previous post, I described how we make our own homemade stock.
Now I’m going to show you how we preserve that stock for future use by pressure canning
A note before we get started:
Despite what our grandmothers may have done or the canning methods they may have used, modern canning methods require all low acid foods such as those containing meat and vegetables to be pressure canned. Home canned food is perfectly safe to eat, if the proper canning procedures are followed.
A second note: When I first started pressure canning I heard all sorts of stories from people saying that they were too scared to pressure can because Grandma or Great Aunt or whoever had a pressure canner explode on them. Today’s modern pressure canners have safety features that prevent that from ever happening.
That said, let’s begin:
Wash the jars in hot, soapy water.
Rinse thoroughly. And then place in a sink filled with hot water.
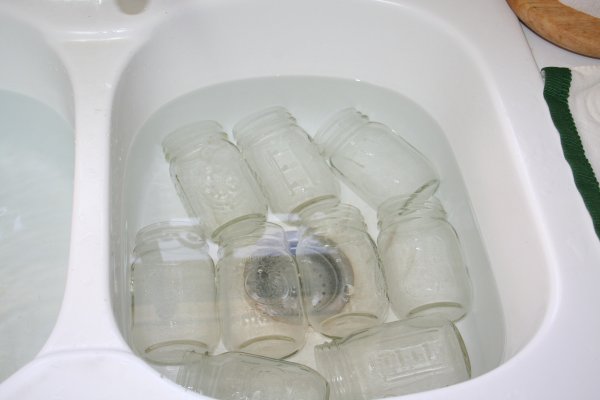
Keeping the jars in hot water helps to prevent thermal shock when filling the jars.
Place your stock on the burner and bring it back up to a gentle boil. You don’t want or need a hard boil as that can cause your stock to get cloudy.
It would still be perfectly fine to eat, it just wouldn’t look as pretty.
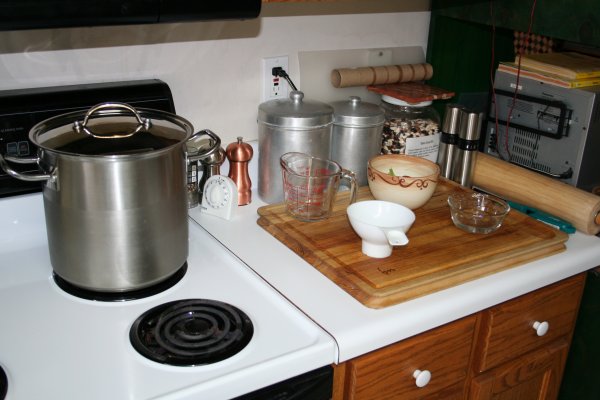
While the stock is heating, get the canning station ready with measuring cup, canning funnel, bowl of vinegar and a bowl with canning lids.
I always put in a few more lids than I think I’ll need.
Pour boiling water over the canning lids and allow to sit for at least 7 to 10 minutes to soften the rubber rings.
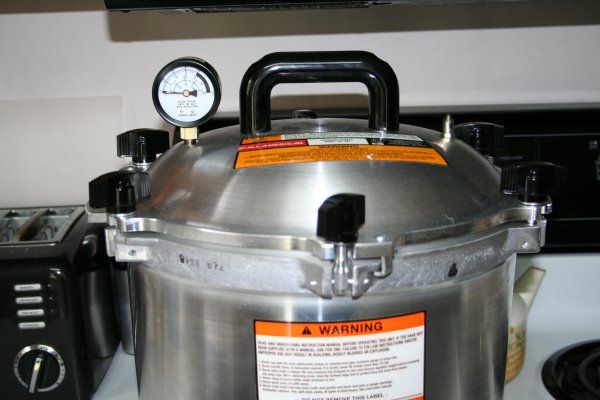
You’ll also want to get your pressure canner set up on a burner with the rack in the bottom. Add the recommended amount of hot water to the bottom.
My pressure canner is an All American Canner and the instructions call for 1 1/2″ of water. Use whatever amount is required for your canner.
Turn the burner on to medium (which is 5 on my stove.)
Once the stock has come to a boil, it’s time to start filling jars. A canning funnel

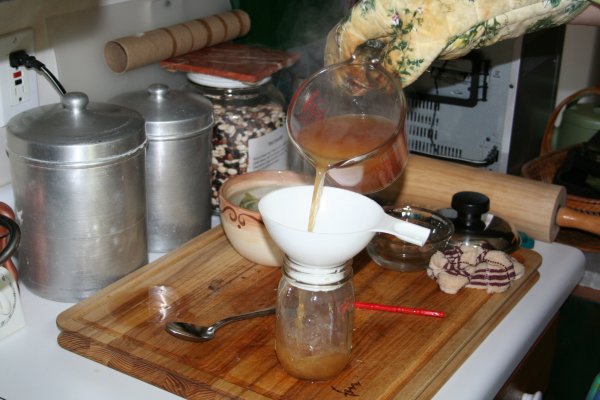
Fill the jars leaving a 1 inch head space.
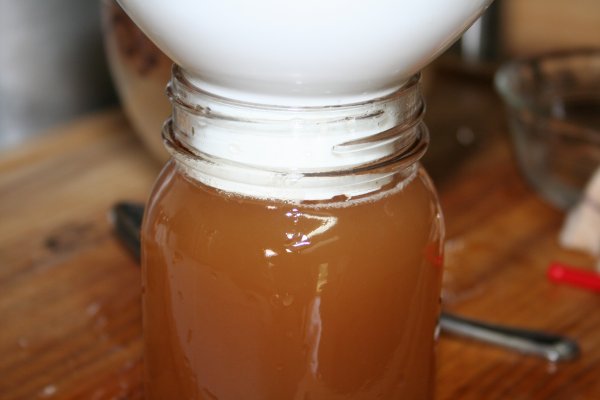
The great thing about using a canning funnel is that the funnel sits in the jar such that if you fill the jar to the bottom of the funnel, you have your one inch head space; no guess work or measuring involved.
Wipe the rims of the jars with a cloth dipped in vinegar.
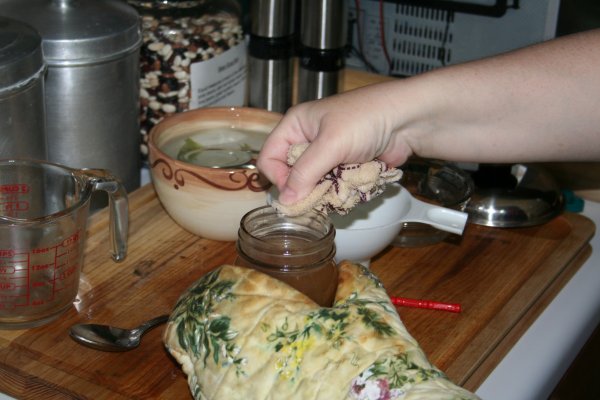
Wiping the rim ensures that there will be a clean surface for the rubber of the lid to seal against. The vinegar cuts through any fat that may be in the stock.
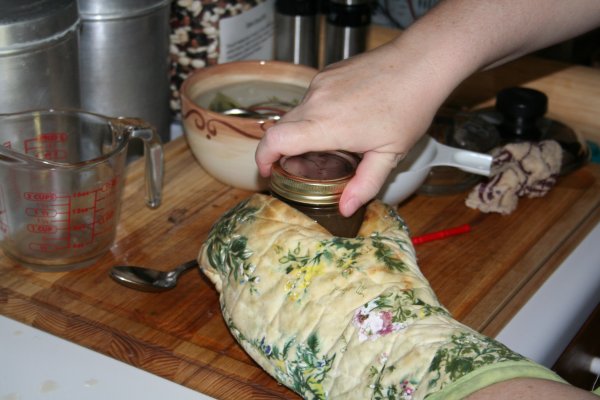
Add lids and metal rings. Tighten finger tight.
Place the jars in the canner.
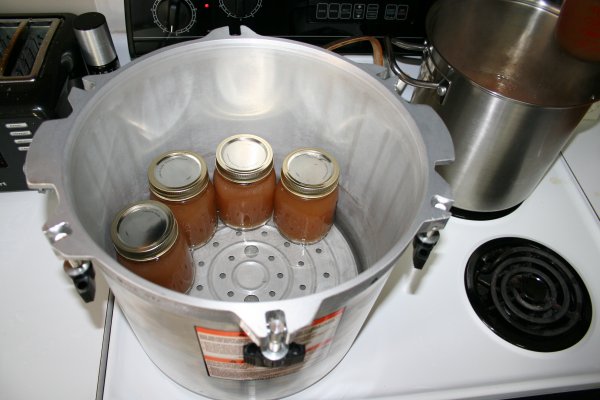
Our canner holds 18 pint jars stacked in a double layer with a second rack between the layers.
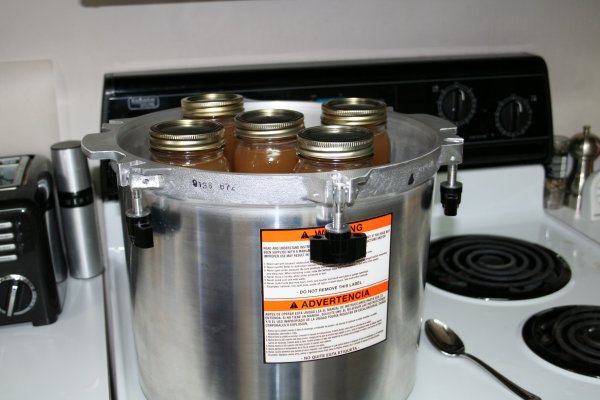
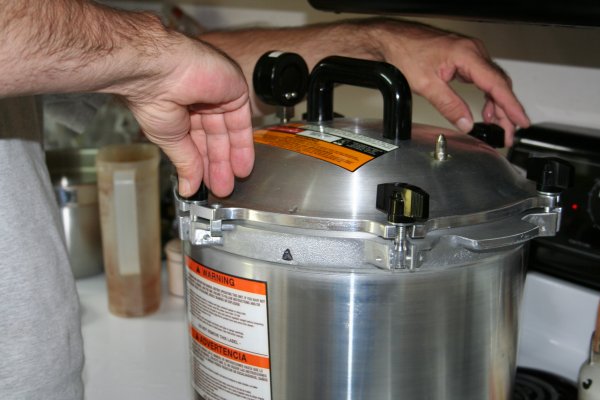
Once the canner is full or you’ve run out of stock to fill jars; put the lid on the canner.
Adjust the knobs so that the lid sits evenly.
Allow the canner to vent for 7 minutes. Begin timing once you see a steady stream of steam coming out of the vent.
After the seven minutes is up, place the weight over the vent.
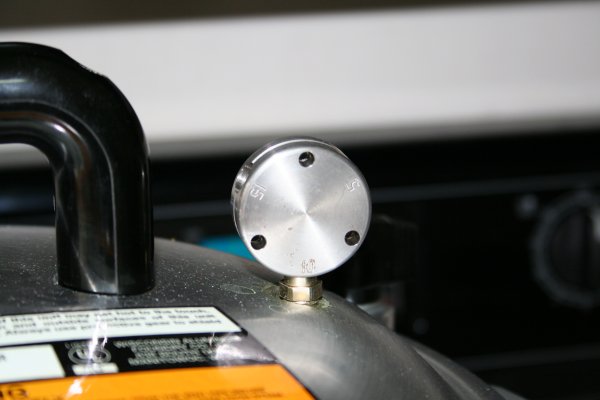
For our altitude, we use 10 lbs pressure. Be sure to check the manual for your canner to determine what weight is needed for your altitude.
Slowly bring the canner up to pressure.
It’s tempting to turn the burner up to bring the canner up to pressure faster, but I’ve learned through experience that lower and slower is better and requires less adjusting of temperature once the correct pressure is reached.
Begin timing when the weight starts to jiggle.
Pints take 20 minutes, quarts take 25.
The weight should jiggle one to four times per minute. If it’s jiggling more frequently or constantly, gradually adjust the burner temperature downwards.
After the timer goes off, turn off the burner and allow the pressure to fall on its own.
Do NOT move the canner during this cooling process.
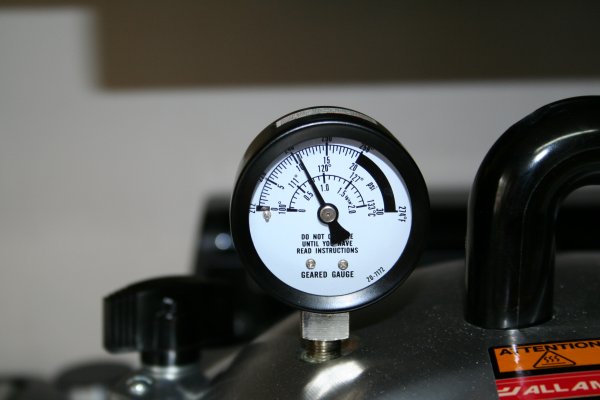
Once the pressure gauge reaches zero, remove the weight from the vent wearing an oven mitt.
Undo the knobs, turn the lid and lift off.
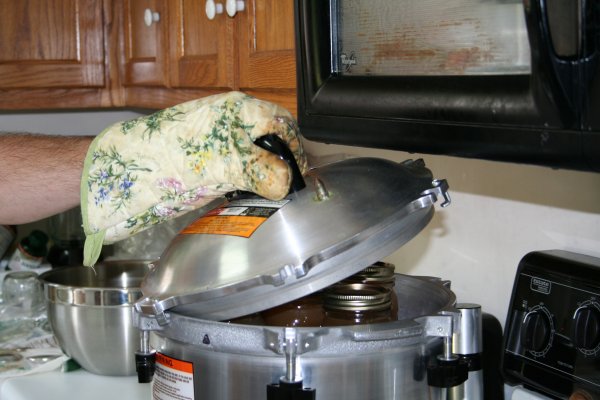
Always remove the lid with the lid facing away from you; that steam is super hot and you don’t want to get burned.
Remove the jars from the canner with rubber tongs

We have a small kitchen with limited counter space, so I place a large towel, folded double on the dining room table.
On top of that I place a piece of ¼” plywood and then put another large towel folded double on top of that. This may seem like overkill, but those jars are really hot coming out of the canner and I don’t want that heat transferring to my table and leaving marks. (The towel under the plywood is to keep the wood from scratching the table.)
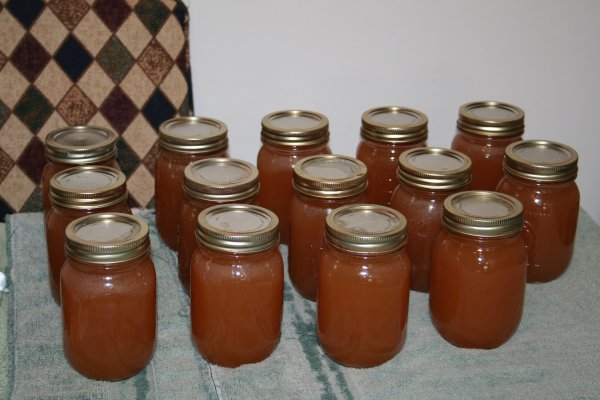
I love hearing the pinging sound as each jar seals.
Allow the jars of stock to cool overnight.
The next day, I check to make sure that all the jars have sealed properly.
In the center of each lid there is a tiny “button” that is sucked down during the sealing process. If you push on that button and it moves up and down, the jars have not sealed.
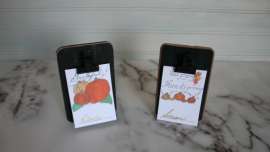
Then I unscrew the lids, wash the jars with warm, soapy water and allow them to dry completely before labeling with the contents and date.
I keep six jars in a cupboard in the kitchen and the rest are stored in a dark, cool closet in the spare bedroom that Dave has added extra shelves to for storing all our home canned foods.
This post contains affiliate links. For more information please check my Disclosures and Disclaimers page. It doesn’t cost you any extra, but it does help support this site.


1 Comment
Sandra :)
September 22, 2011 2:07 pmPlease add soup to the list of foods you’re going to cook for Nancy and I when we Thelma and Louise it to your house – YUM and thank you! 🙂
Comments are closed.