Helping you create a home by hand.

Baked Oysters

Earlier this month, on a visit with our friends in Panama City, our host taught Dave how to shuck oysters and our hostess taught me the most delicious way of preparing them.

The very next day on our way back to our winter home, Dave and I stopped off at Joe Patti’s here in Pensacola to buy more oysters so we could try making them for ourselves.

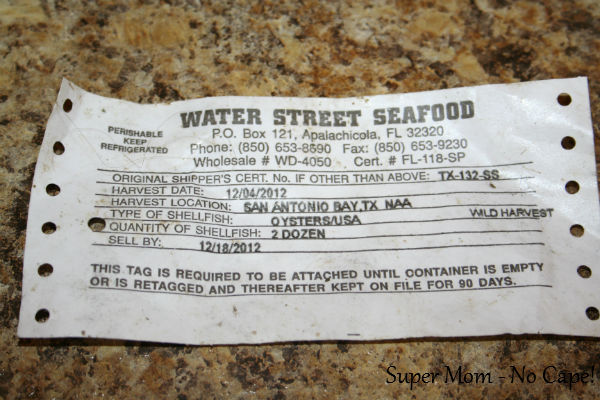
First, buy the freshest oysters available.

Ours came with this label.

Oyster label

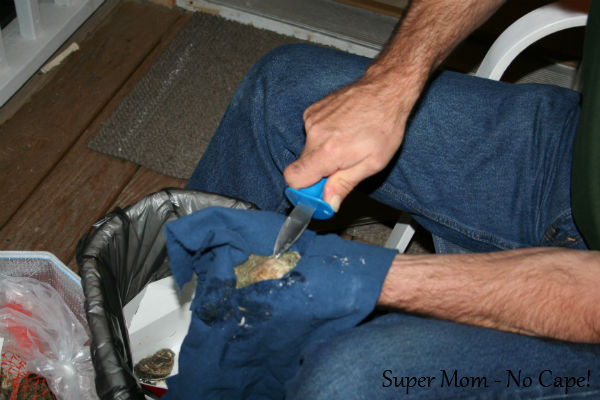
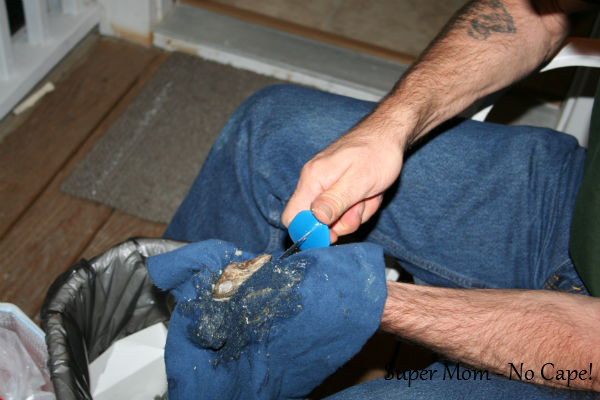
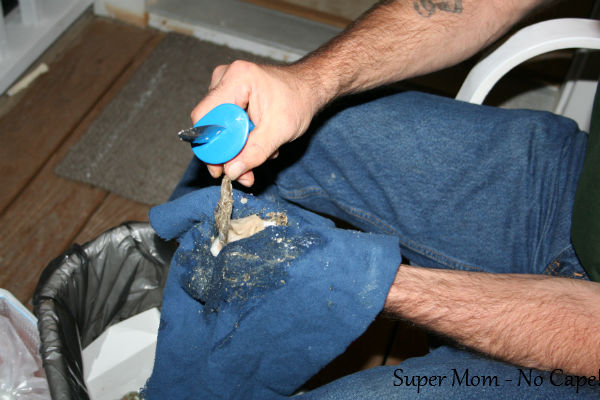
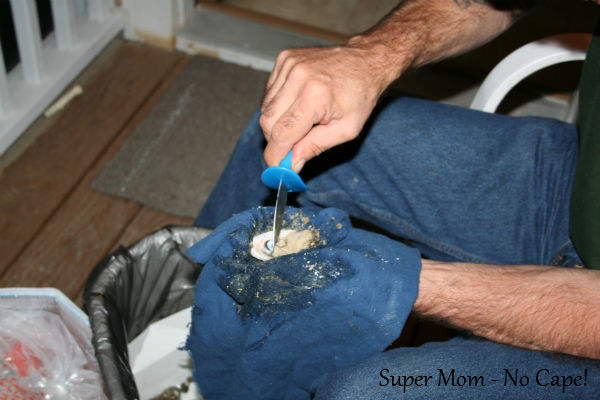
Once you get them home, it’s time to shuck the oysters.

One of the things Dave’s friend recommended was buying an oyster shucking tool.(<-affiliate link)  So that’s what we did.

Insert the shucking tool into the base of the oyster and twist.
Continue to slide the shucking tool into the oyster while twisting until top shell is loose.
Remove the top shell and discard.
Slide the shucking tool under the oyster and cut it away from the shell. Leave the oyster on the half shell.
Here they are shucked and almost ready for baking.

While Dave was shucking oysters, I gathered the other ingredients.

Topping for baked oysters

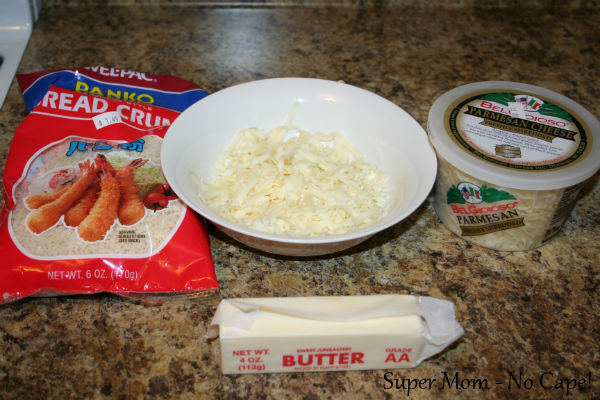
Panko bread crumbs, freshly grated mozzarella cheese, Parmesan cheese and butter.

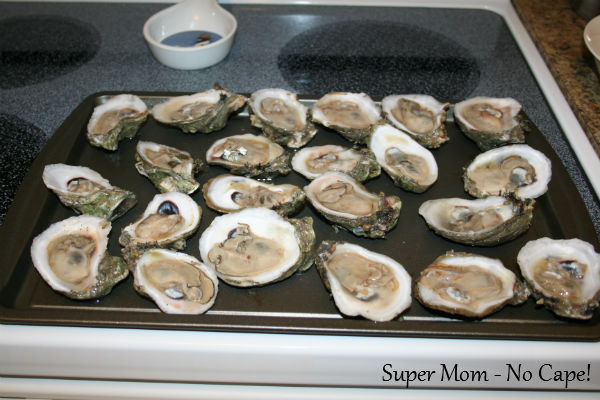
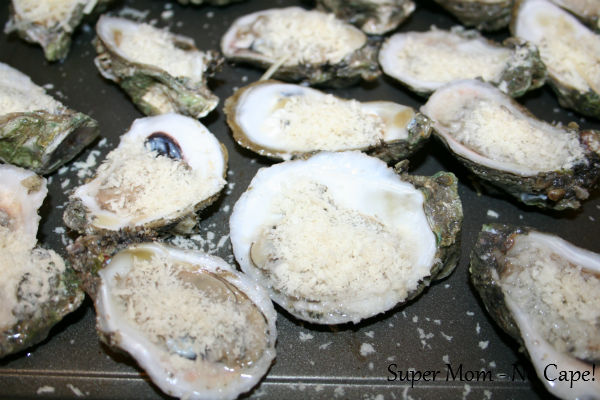
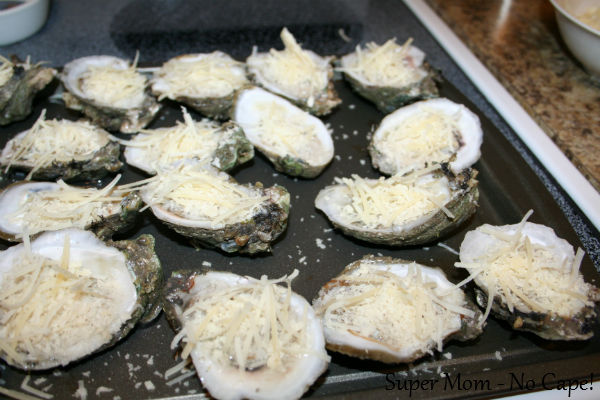
Add the above ingredients in layers.

Begin with the Panko bread crumbs.
Then add the parmesan cheese.
Then add the Parmesan cheese.
Next add a layer of mozzarella cheese.
Finally place a tiny slice of butter on each.

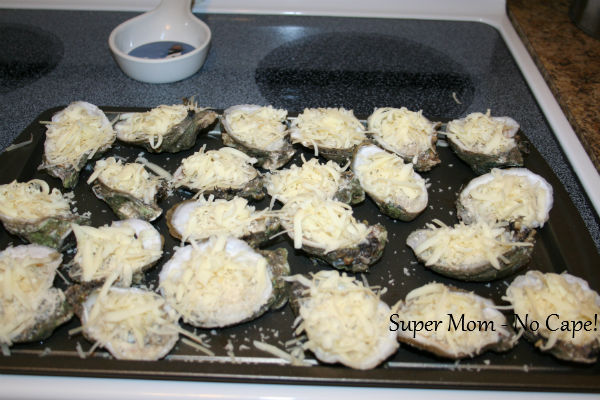
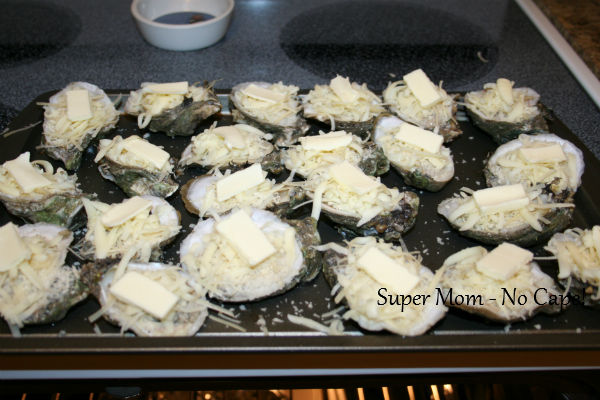
Bake on the second from the top rack of an oven that has been heated to 375 degrees Fahrenheit for approximately 20 minutes or until golden brown on top.

Bake until golden brown

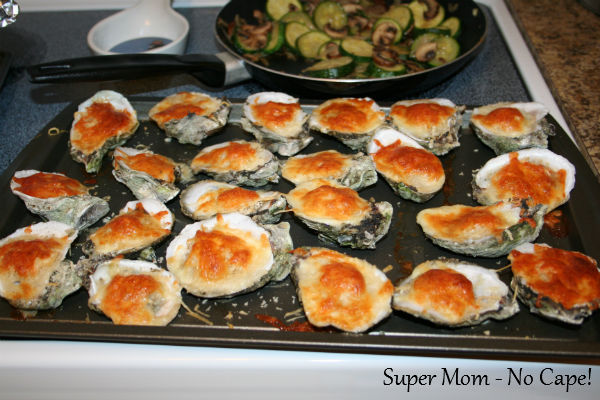
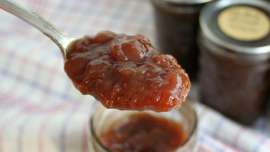
Our friends prefer to eat them hot right out of the oven and we did enjoy them that way but when we made this  batch for ourselves, we discovered that we preferred how the tastes had blended after they had been allowed to cool for several minutes.

My advice… try them both ways and see which you prefer.  Either way, you can’t go wrong with this recipe.

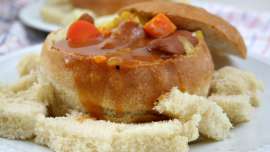
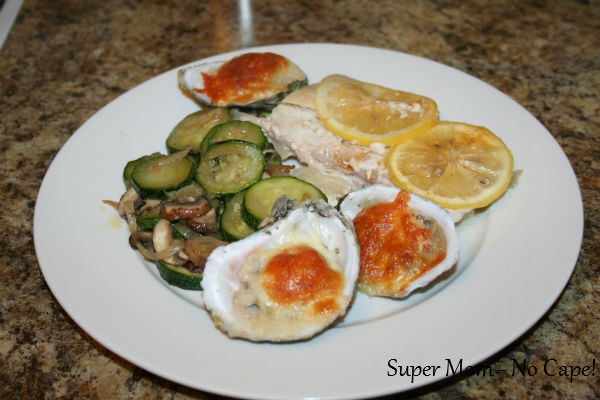
Here’s how we served some them that night.

Some we ate hot with supper. Others we ate after they'd cooled for a while.
Some we ate hot with our supper of Lemon Baked Mahi Mahi and side of sauteed zucchini, mushrooms and onions.  The rest were allowed to cool and eaten in place of dessert.  They were so delicious!

This post contains affiliate links. For more information please check my Disclosures and Disclaimers page. It doesn’t cost you any extra, but it does help support this site.

I would be so pleased if you chose to share by clicking on one of the buttons below!