


Did your pear or apple trees produce an over abundance of fruit this year? In this post, I’ll show you how dehydrating pears or apples is such an easy way to preserve them to have them to use all winter long.
When our neighbors across the street gave us a plastic grocery bag full of pears from a friend’s pear tree, I was so pleased to receive such a generous gift. Pears are one of my favorite fruits.
Still, I knew that there was no way, even by keeping them in the fridge, I would be able to eat them all before they started to go bad.
So over the weekend, while I worked on secret Christmas projects, Dave prepped the pears and got them into the dehydrator.
Note: The following method will also work for dehydrating apples.

Dehydrating Pears and Apples – Simple How-To Instructions
Wash the pears to remove any dirt.
Then peel and slice them into ¼ inch slices.

To keep the pears from turning brown while they are dehydrating, place the pear slices into a bowl of water with about ½ cup lemon juice added. Vitamin C tablets
Once you have enough pears to fill one dehydrator tray, scoop the pears out of the lemon water and drain.
Arrange the pear slices on the tray.


As each tray is filled, slide it into the dehydrator.
We use an Excalibur 9 Tray Dehydrator
I even use it to proof bread dough when the house is too cold.
Once you’ve sliced all the pears or filled all the dehydrator trays, whichever comes first, set the temperature on the dehydrator to 115 degree Fahrenheit.
Set the timer for 12 hours.

After 12 hours, cut into one of the pear slices. It should be leathery but there should be no moisture in the center of the cut slice. If there is any moisture, return to the dehydrator.
The reference book we use called Making and Using Dried Foods by Phyllis Hobson gives a timing of 12 to 18 hours.
Ours took about 20 hours to dry.
When you’re sure the pears (or apples) are dry, remove the trays from the dehydrator.

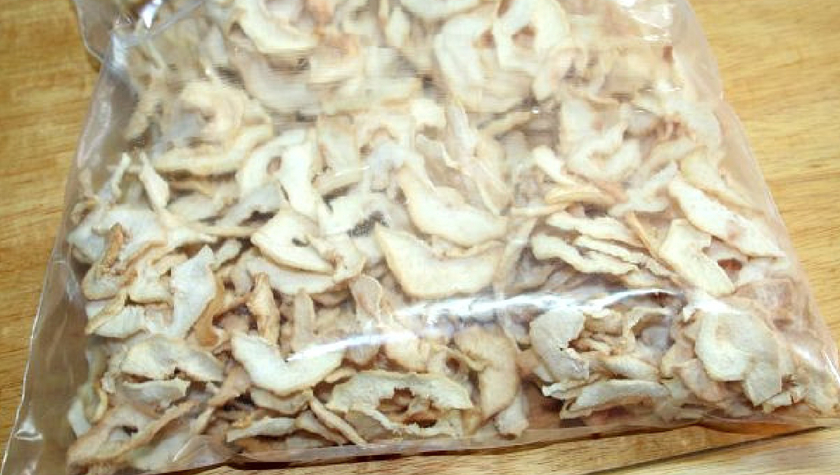
Place the dehydrated pears into a zip top bag.

Over the next couple of days, check the bag occasionally. If any condensation forms inside the bag, they weren’t dried long enough.
Return the pear slices to the dehydrator to complete the drying process.
Dehydrated pears and apples make great healthy snacks and can also be rehydrated for use in recipes.
So the next time your fruit trees produce an over abundance of pears or apples or a generous neighbor gifts you with a bag of fruit, don’t let them go to waste.
Now that you know how easy dehydrating pears or apples really is you may even want to stock up if you find them at your local farmers’ market.
Want to save this simple guide for Dehydrating Pears or Apples for future reference? Click on the Pinterest button underneath this post.
And of course, I’d love it if you shared it on Twitter and Facebook as well. 🙂

This post contains affiliate links. For more information please check my Disclosures and Disclaimers page. It doesn’t cost you any extra, but it does help support this site.


1 Comment
Sandra :)
October 18, 2011 8:42 pmYUMMY – a batch of apple pear granola would be REALLY good!
Comments are closed.