Recovering Lawn Chair Cushions – Part 1
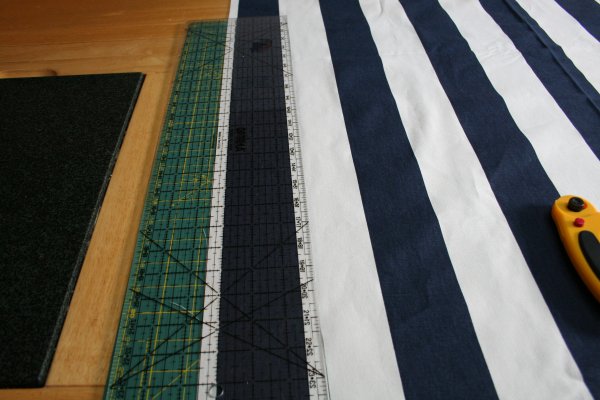
To create the faux piping effect on the cushions, I took advantage of the white stripes on the blue and white striped fabric.
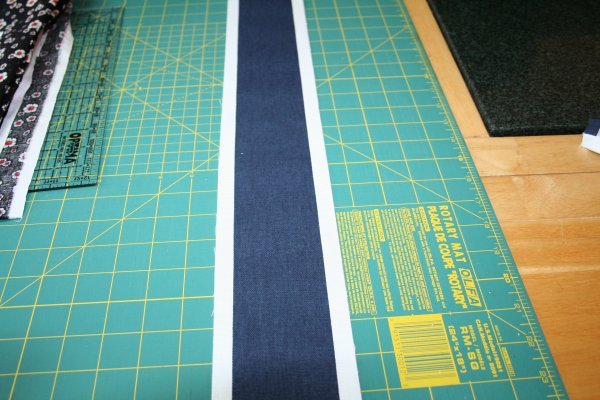
I placed the ruler lengthwise along the stripes, so that I would be leaving ½” of white along each side of the blue stripes. Then I cut along the entire length of the fabric with my rotary cutter

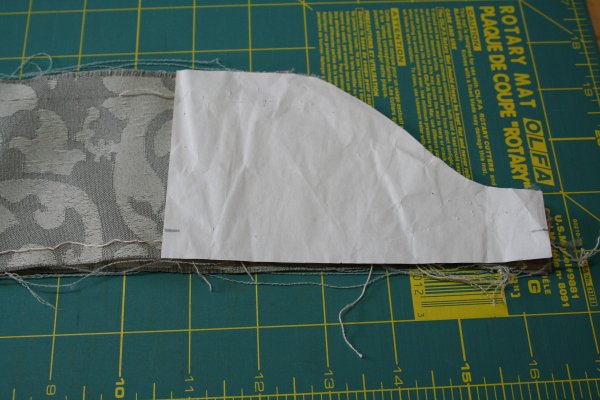
When I was unpicking the back and seat cushions to get the fabric pieces to use as patterns, I noted that the side piece of each cushion had a curve on one side of each end. That curved section was stitched to the longer front and top sections of each cushion.
I cut a small paper pattern piece of that curved end.
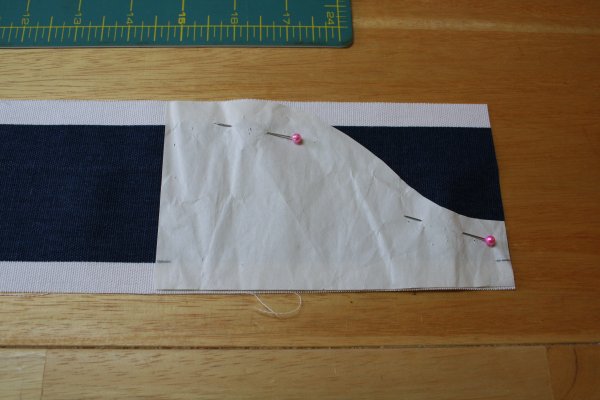
Then once I had cut the blue strip to the correct length, I pinned the pattern in place and cut it out.
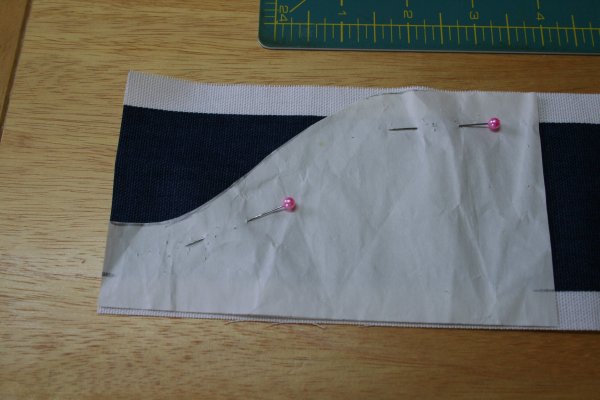
I then unpinned the pattern piece, flipped it over and pinned and cut the other end.
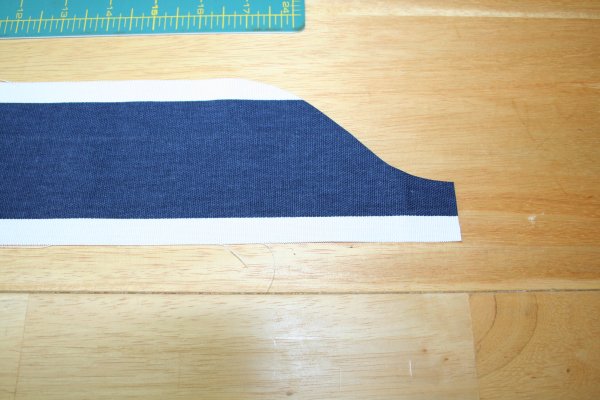
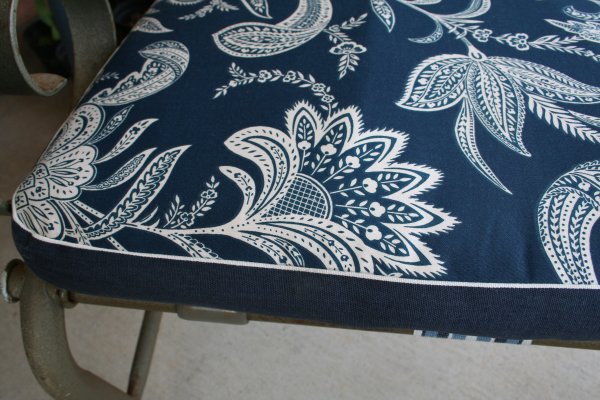
When it came time to sew the side strip to the cushions, I used a ¼” seam allowance which when the cushion was turned right side out left ¼” of the white showing; giving the cushions that faux piping effect.
In my next post on recovering lawn chair cushions, I’ll have photos of how I sewed the finished back and seat cushions together to make them into a complete lawn chair cushion. Hint: It required two people.
Updated to add:
Part 3 – Sewing the Back and Seat Together
Part 4 – Making Matching Buttons