


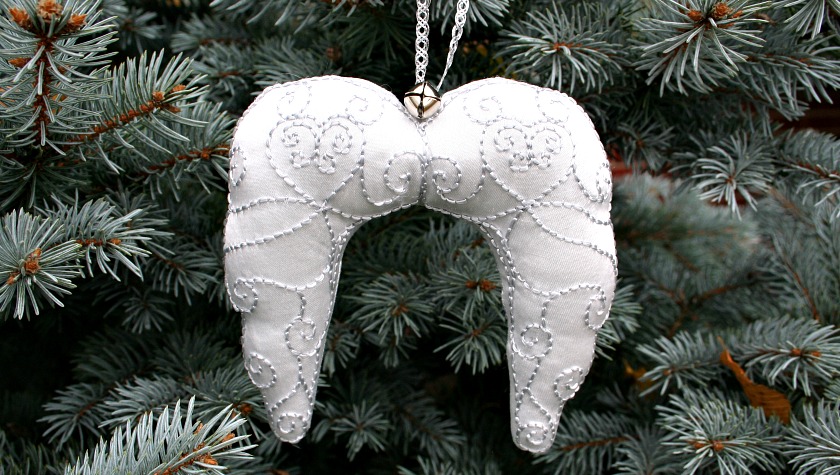
In the Christmas movie classic, “It’s a Wonderful Life” there’s this iconic line: “Every time a bell rings, an angel gets it’s wings.” That was the inspiration for this Embroidered Angel Wings Ornament with the tiny bell tied on top.
I’m taking part in the yearly ornament exchange organized by Erlene from MyPinterventures for the second time. I had so much fun creating the handmade ornament for my partner last year, that I couldn’t wait to sign up again.
This year, I was paired with Megan, from over at C’mon Get Crafty. In our introductory emails Megan mentioned that she and her family are huge movie fans and watch classic Christmas movies on rotation. As soon as I read that I knew exactly what I wanted to make for her.
Now of course, while I knew what I wanted to make, I then had to figure out what the wings would look like. And once I’d decided that I wanted the wings to be embroidered, there was the little matter of figuring out how to turn them into a finished ornament. 🙂
I’ll admit I had a few false starts and ended up switching out fabrics and floss colors. But I hope you’ll agree that in the end they turned out beautiful.
Want a downloadable copy of this tutorial complete with the patterns? The PDF can be purchased in my shop for $5.00.
Before we get to the tutorial for how to make the Embroidered Angel Wings, I wanted to mention that I’m only one of 50 bloggers who took part in this year’s handmade ornament exchange. At the bottom of this post, I’ll link to where you can go see all the other ornaments that were made and exchanged as well as have a chance to link up your own tutorial, if you have one. So be sure to check that out!

How to Make an Embroidered Angel Wings Ornament
Materials required to make one pair of Embroidered Angel Wings:
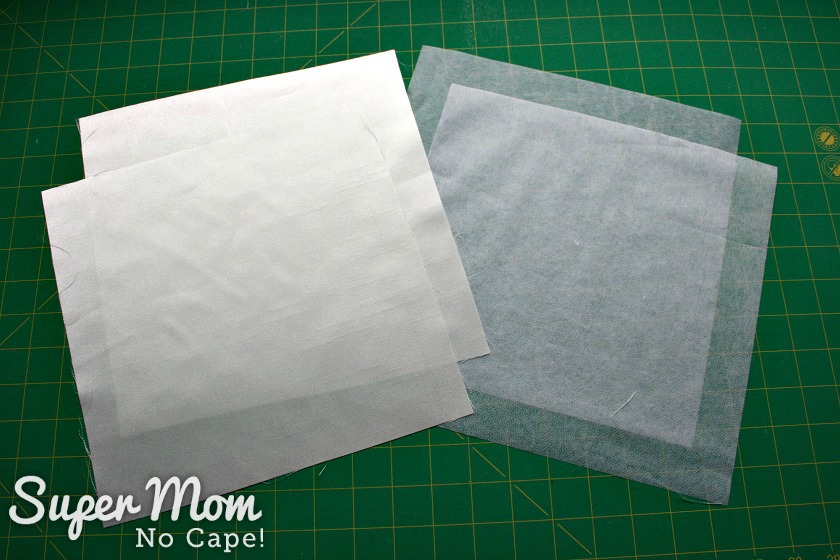
- 2 – 10″ X 10″ squares of white satin
- 2 – 10″ X 10″ squares of Pellon featherweight interfacing
- DMC S415 Pearl Grey Satin Floss
- Embroidery needle
- Small plastic embroidery hoop
- Small embroidery scissors
- Polyester filling
- 18 inches 1/8″ silver ribbon
- 1 small silver jingle bell


Begin by printing off the Embroidered Angel Wings Ornament pattern (scroll down for the link.)
Next you’ll need to stabilize the satin with interfacing. Satin has a tendency to flex and shift. The interfacing prevents that and makes for a better stitching experience.
Quick tip: Satin fabric and satin floss also have a tendency to snag, so I recommend that you keep a nail file handy to file any catches on your nails.
As well, this time of year, my hands can be dry so before I work with delicate fabrics. I massage a bit of pumice foot scrub into my hands especially the finger tips and then rinse and dry my hands thoroughly before starting embroidery and sewing projects. This smooths out any little bits of dry skin that can snag and catch the fibers of the fabric and/or floss.
I use Dr Scholl’s for Her Pumice Foot Scrub but it’s been discontinued. When I run out of what I have, I’ll be switching to a similar pumice foot scrub.

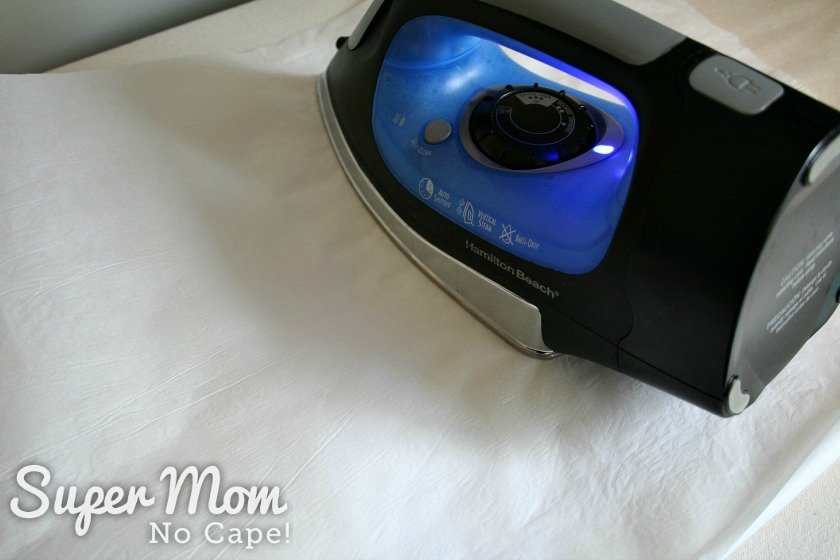
Fuse the featherweight interfacing to the wrong side of the satin using a medium heat setting on your iron. You may want to do a test on a small scrap of the satin to make sure that your iron isn’t too hot.
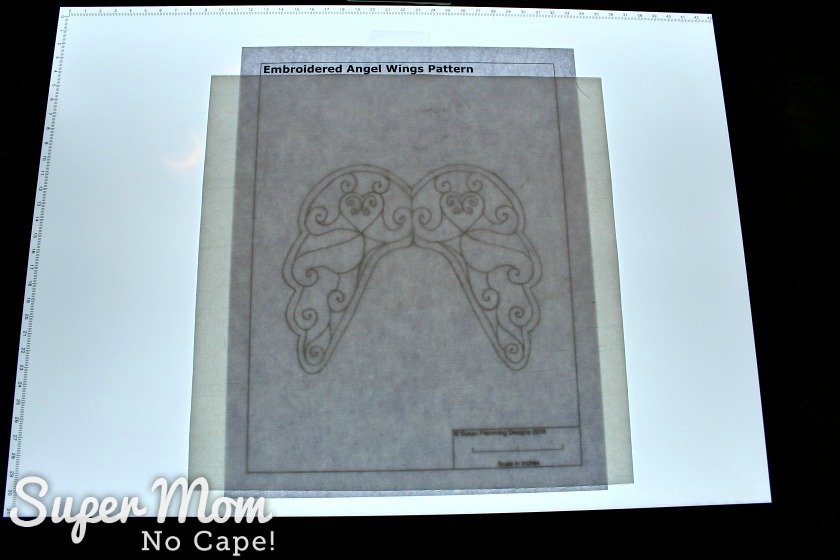
To trace the Angel Wings embroidery pattern onto one of the reinforced satin squares, you’ll need a light source.
You can use a window or a homemade light box as your light source. But I’ll be honest…one of the best and most comfortable to use light sources are these Huion LED Light Pads.

Hands down, it is one of the best craft room investments I’ve ever made.
I love that you can easily adjust the brightness just by tapping the On button. It also has a neat smart memory feature that remembers the brightness you set it to the last time you used it. It’s AC powered and light weight with a nice size drawing surface (16″X12″.)
For tracing on the satin, use a regular pencil. I tried tracing with the Clover water soluble pen
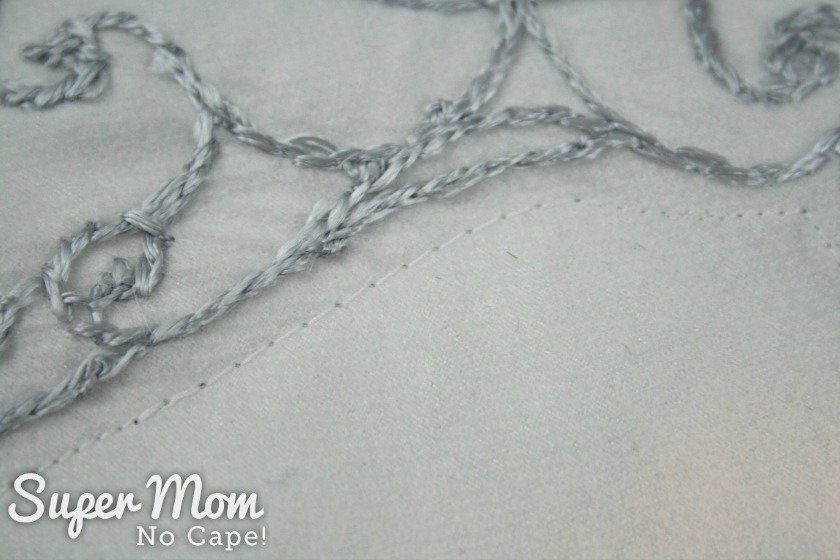
Please note: The outside lines are not embroidered. They are the cutting lines in case you would like to make the wings from white felt with a blanket stitch edge rather than white satin. If making the wings from satin, they can be used as the machine sewing line (see below.)
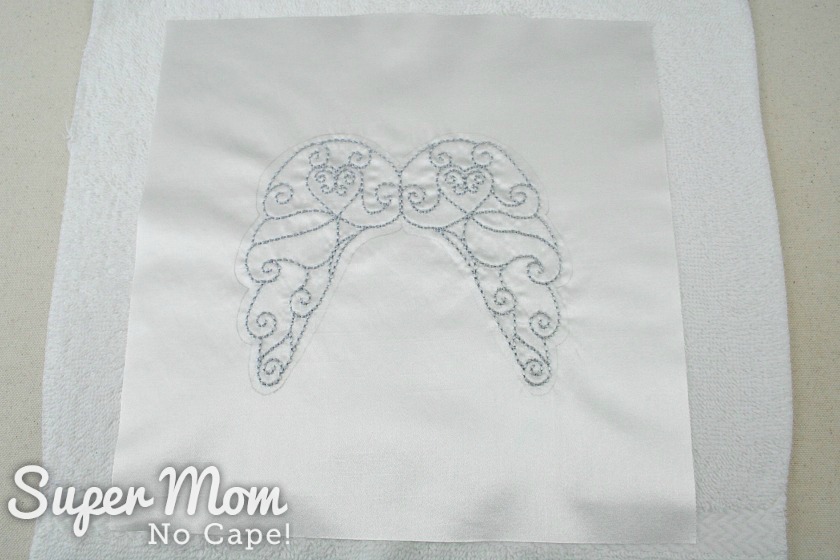
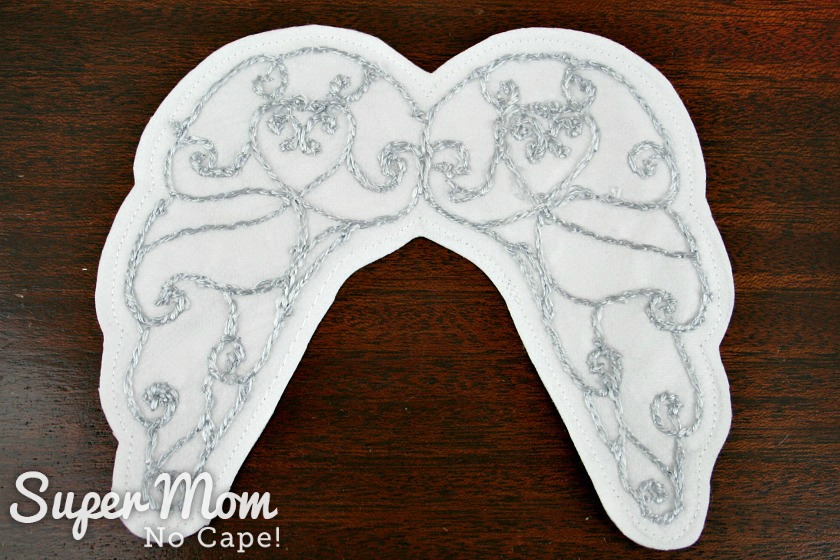
Once you’ve traced the pattern onto the satin, embroider the wings using 2 strands of the pearl grey satin floss.
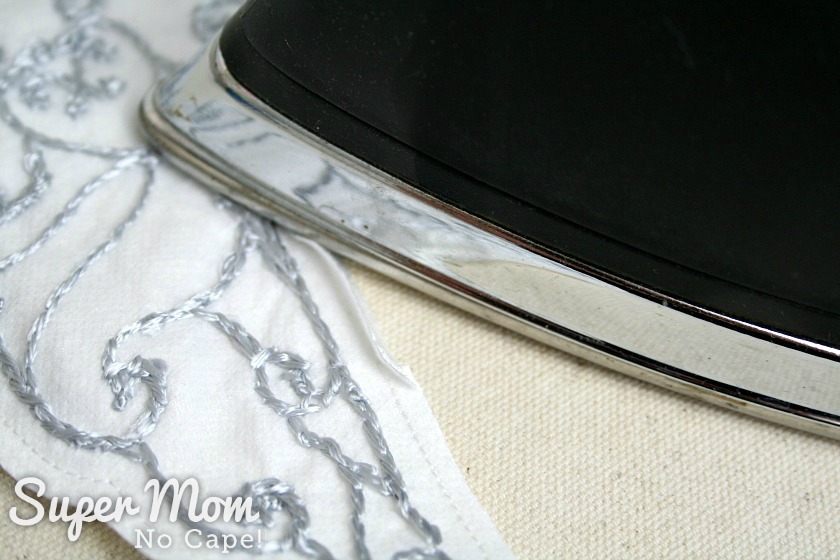
Give the embroidered wings a light pressing after all the stitching is complete.
I use a small white towel or facecloth underneath when pressing my embroideries. This helps to prevent the stitching from being flattened by the iron. Start by pressing with the right side down and then flip the piece over and very lightly press out any small wrinkles on the right side.
Pin the second square of satin right sides together with the embroidered angel wings.
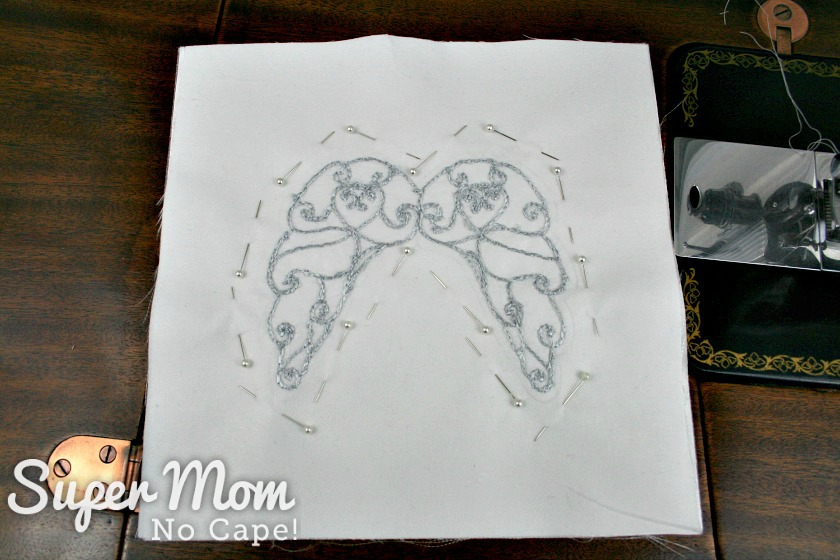
Make sure that all your pins will pull out in the same direction so that it’s easy to remove them as you sew around the angel wings.
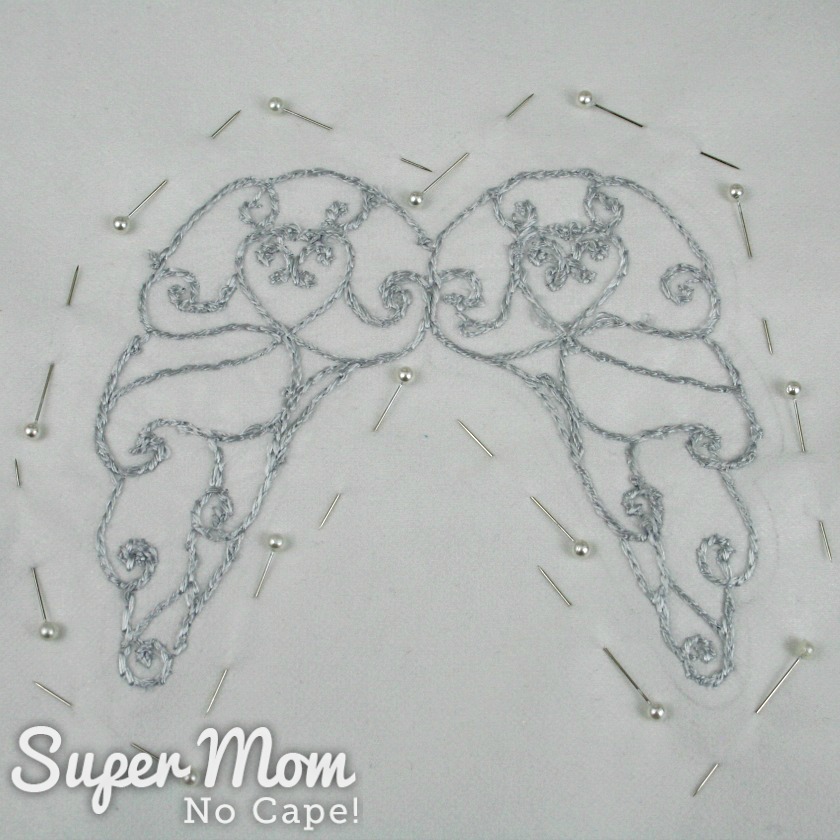
Sew using approximately an 1/8″ seam allowance. My vintage Singer sewing machine’s pressure foot is 1/8″ on the right hand side, so I was able to use that as a guide all the way around.
Or you can simply sew on the outside lines of the pattern.

The piece will look like this after sewing.
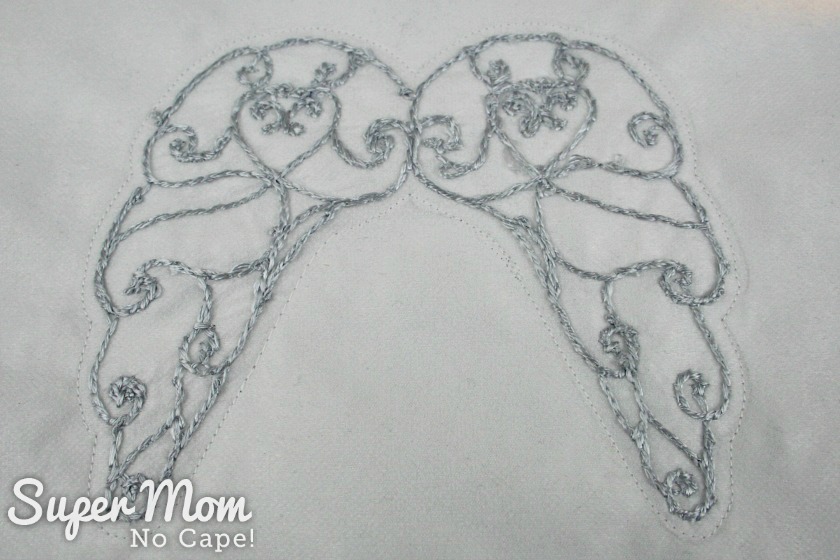
If you look closely, you’ll see that I adjusted the stitch length to a long basting stitch where I wanted the opening. You’ll see why in a moment.
Cut out the angel wings about 1/8″ from the sewn line.
Press open the seam allowance where the machine basting stitches are.
Pressing that area of the seam allowance open, gives you a nice crisp pressed edge to sew into when it comes time to close the opening.
Remove the basting stitches and turn the angel wings right side out.

Now it’s time to stuff the angel wings. A locking surgical clamp
Grab small pieces of polyester filling at a time with a surgical clamp.
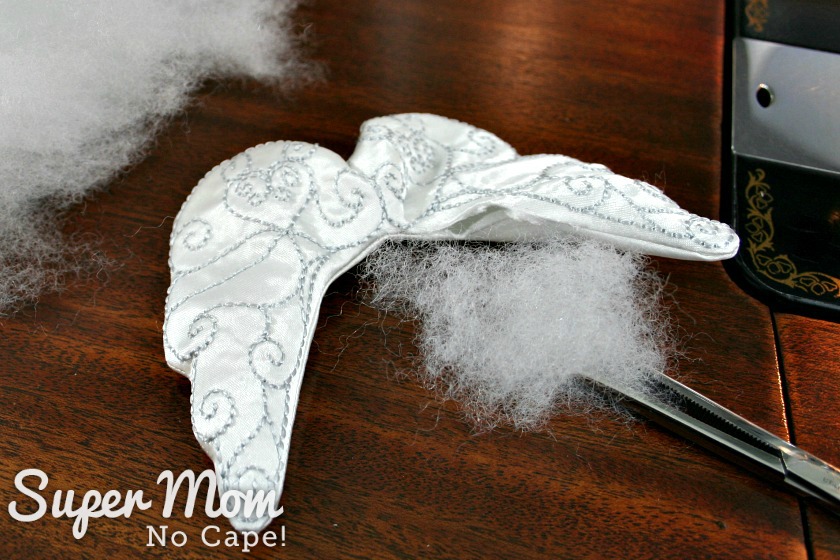
Insert the clamp with the polyester filling into the angel wings and move the filling to the place you want it. Release the clamp.
The closed end of the clamp can then be used to push the filling further into position.
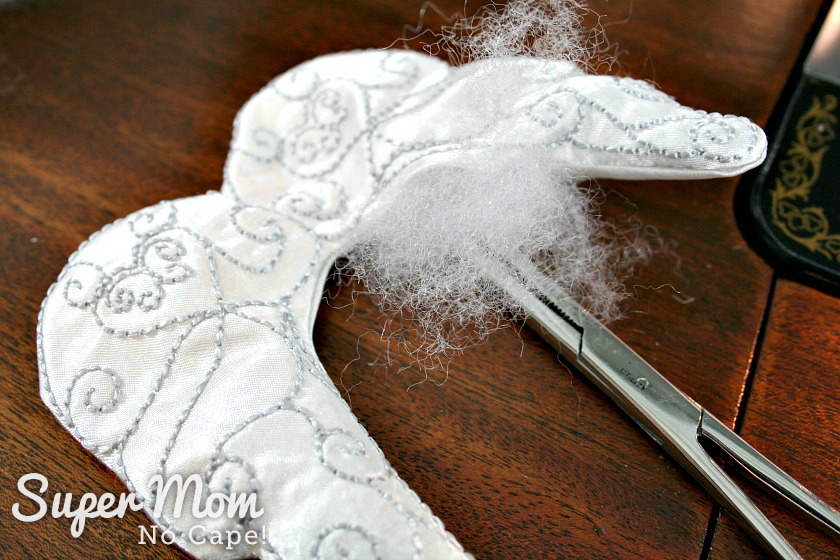
Stuff the angel wings firmly but not so that it looks about to burst at the seams. Close the opening using a ladder stitch (aka invisible stitch.)
Fold the 18″ piece of ribbon in half and sew it to the top of the embroidered angel wings in the center between the two wings.
Thread the jingle bell on to one piece of the ribbon and knot to hold it in place.
Tie the ribbon with a small bow about 4″ from the bells to create a hanging loop for the ornament and it’s ready to hang on your tree or to give as a gift.

I hope that Megan loves the Embroidered Angel Wings Ornament that I made for her.

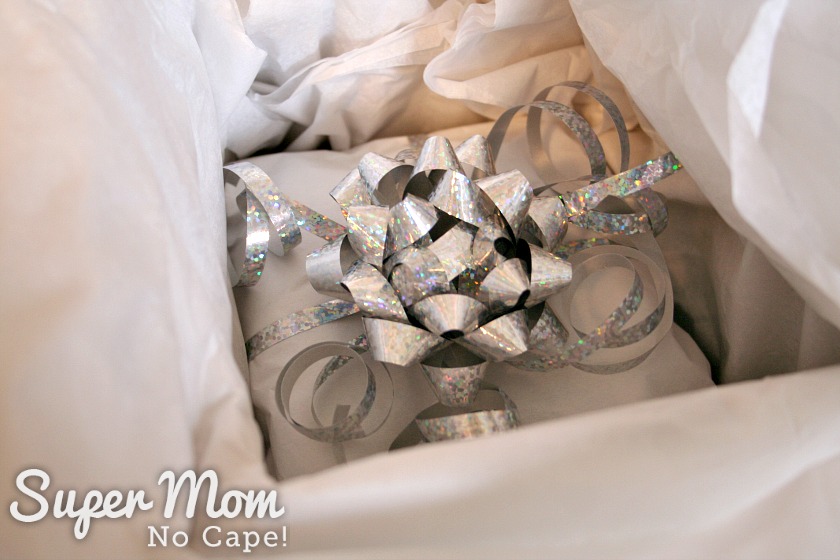
The deadline to mail out the finished ornaments to our exchange partners was November 9th so it’s already on it’s way to her.
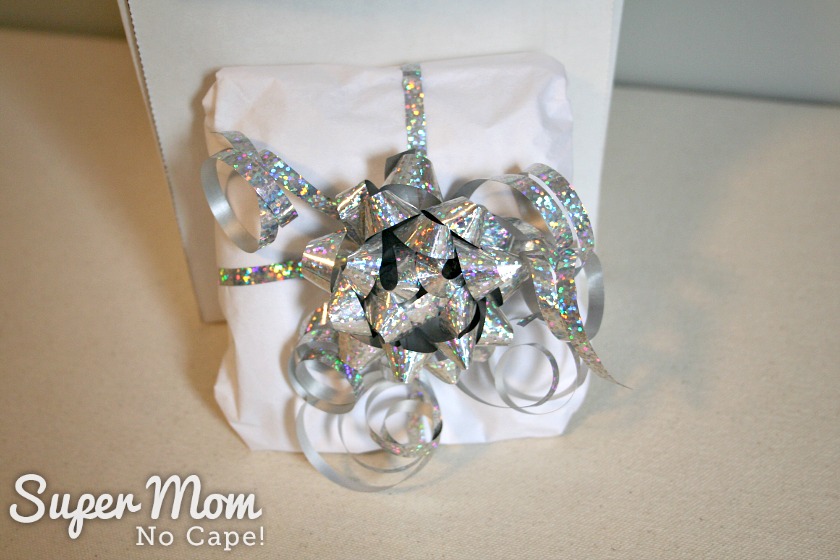
I added a couple of extra goodies to the bottom of the box before putting the wrapped wings into the box. I hope Megan likes those too. 🙂
Want a downloadable copy of this tutorial complete with the patterns? The PDF can be purchased in my shop for $5.00.
Click the link below to add to your cart and then click checkout:
Want to see all the other handmade ornaments from bloggers who took part?
Go to the 2018 Handmade Ornament Exchange
Be sure to save this post for Embroidered Angel Wings Pattern so you can find it when you want to make it by clicking on the Pinterest button underneath the post.
And of course, I’d love it if you shared it on Facebook and Twitter as well. 🙂


18 Comments
Marie InteriorFrugalista
December 7, 2018 10:08 amWhat a gorgeous ornament! I’ve been wanting to make angel wings in memory of my Mom to hang on our tree. So I thank you for this wonderful tutorial 🙂
janet trieschman
November 20, 2018 3:41 amSuch detail and perfectly spaced stitches! This shows real patients and talent.
Roseann Hampton
November 18, 2018 4:51 pmSuch beautiful embroidery! Pinning
Super Mom No Cape
November 19, 2018 6:51 pmThank you Roseann for your sweet comment and for pinning!
Beverly
November 17, 2018 8:11 pmThis is just gorgeous! I love the reference to the movie with the little bell on top.
Super Mom No Cape
November 19, 2018 6:49 pmThank you Beverly! That little bell just had to be there. 🙂
Debrashoppeno5
November 17, 2018 1:37 pmThese are so beautiful.
Super Mom No Cape
November 19, 2018 6:48 pmThank you Debra!
Kim~madeinaday
November 16, 2018 2:02 pmWow, I love the embroidering and what a beautiful ornament~ I am sure Megan loves it!
Super Mom No Cape
November 19, 2018 6:47 pmThanks so much Kim!
Mother of 3
November 15, 2018 8:34 pmThat is a really beautiful and thoughtful ornament. Pinned.
Super Mom No Cape
November 19, 2018 6:46 pmThank you so much Joanne for your sweet comment and for pinning!
Addie
November 15, 2018 2:43 pmBeautiful!!! Love to see it but I have more ornaments then I know what to do with!!!
i am sure Megan will love it!!!
Addie
Super Mom No Cape
November 19, 2018 6:42 pmThank you Addie! And I totally understand… we probably have enough ornament to decorate three trees… but I do love making them. Maybe this year, I can convince hubby that we need another tree. 🙂
Deborah
November 15, 2018 10:13 amLove your Angel Wings you did a lovely job in crafting them and I’m sure Megan will love them, the bell is the perfect touch after all it is a Wonderful Life. Thank you for including the pattern I hope to have time to give them a try.
Super Mom No Cape
November 19, 2018 6:40 pmThank you so much Deborah! If you do make them and post them somewhere online, be sure to let me know so I can come see. Or email me a photo… that would be cool too. 🙂
Rachel
November 15, 2018 9:07 amThat’s turned out really well! Even when the idea is simple, sometimes it takes a while to make it “just right”, but you’ve succeeded triumphantly here.
Super Mom No Cape
November 19, 2018 6:34 pmWhat a lovely compliment! Thanks so much Rachel!
Comments are closed.