Helping you create a home by hand.

Grommet Bow Gift Bag Tutorial – Part 3 Installing the Grommets

Grommet Bow Gift Bag Tutorial – Part 3 Installing the Grommets

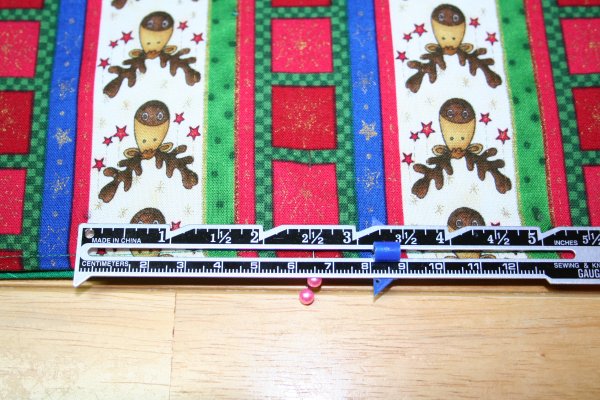
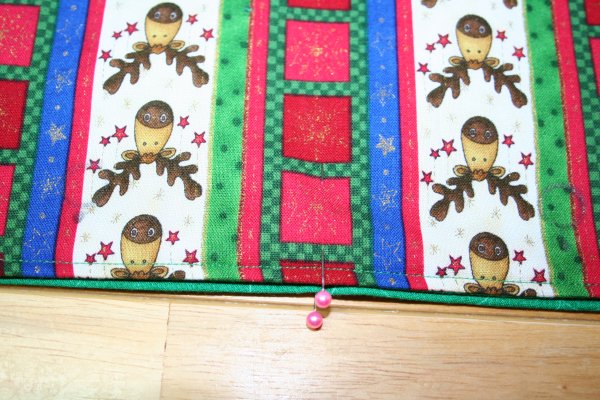
Place a pin in the center of the front of the bag.  Measure 2 ½” from either side of the pin and mark a dot with a pencil.
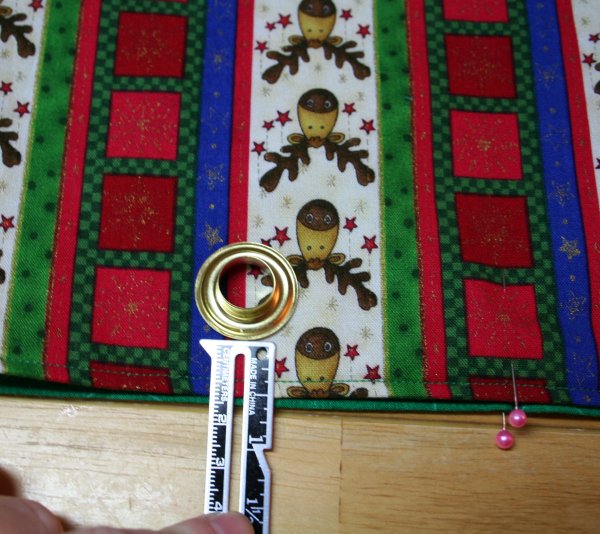
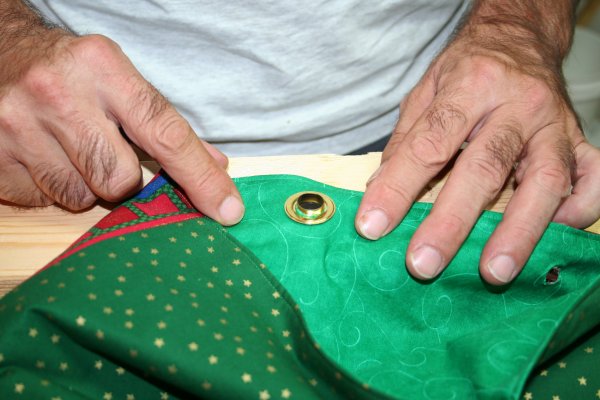
measure 2 and a half inches on either side

Measure down  Â˝â€ť from the top edge, place grommet piece against edge of ruler.   With the pencil, trace inside of grommet.

position grommet

Grommet positions marked

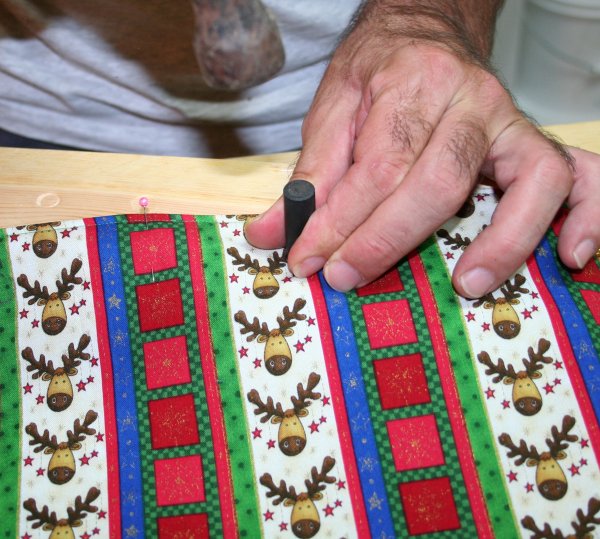
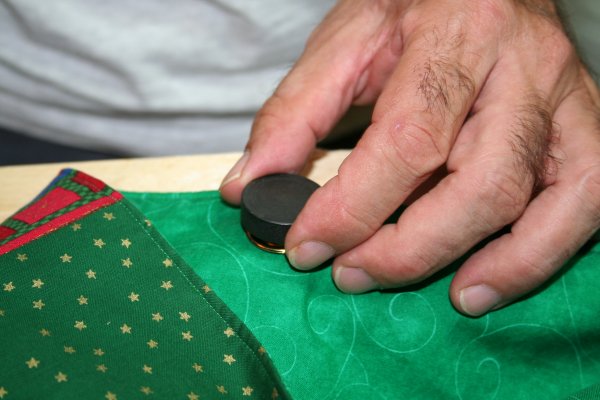
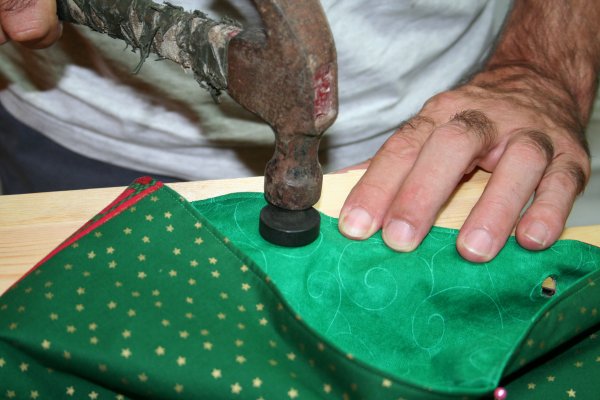
Using the punch that came with the grommet kit, punch hole through all layers of fabric.

Punch grommet holes

The punch didn’t cut all the way through the three layers of fabric so I used a scissors to finish the cuts.

Install grommets according to the directions on the package.

Position pieces of the grommets in the hole you just cut.
Position shaper over the grommet pieces.
Whack it with a hammer.

Repeat this process on the back of the bag.

Now that the grommets are installed, we’re ready to add the ribbon for the bow.

For the fourth and final part of this tutorial go here.

Grommet Bow Gift Bag Tutorial – Part 1

Grommet Bow Gift Bag Tutorial – Part 2

I would be so pleased if you chose to share by clicking on one of the buttons below!