


Since starting my low GL (glycemic load) eating plan in July of last year, I have lost two full clothing sizes. I don’t own a scale so don’t know how much I’ve lost in pounds. I am gauging my weight loss by how my clothes fit.
Weight lose has slowed but I’m still losing so I’m okay with that. Better to lose slowly and be able to maintain than to lose too quickly and risk gaining it all back.
Because I’m using the fit of my clothes to keep me motivated to stick to my eating plan, I do need to buy new clothes once the old ones get too loose. (I’m currently between sizes where one size has gotten loose but the next size down is still too tight.)
New shirts aren’t that expensive but new jeans/pants can be. So to save money, when I need the next size down, I’ve been picking them up at thrift stores.
Once they are washed on hot and no longer have that eau de thrift store smell, no one would know that I hadn’t purchased them new… unless of course they read my blog.
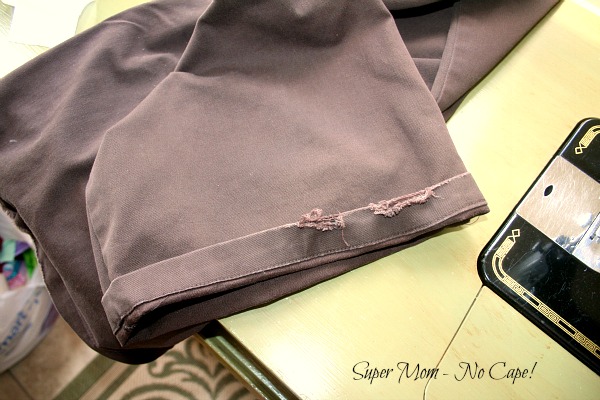
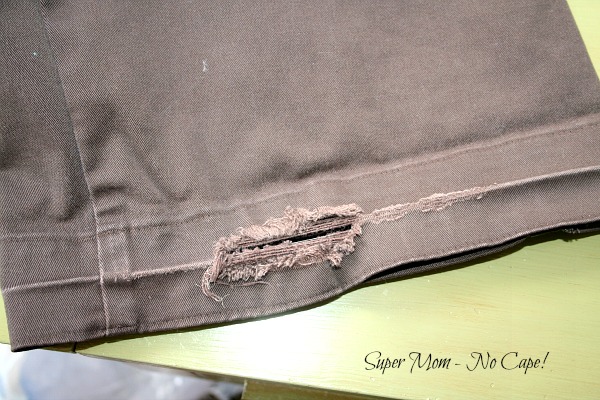
Now because I’m shopping thrift stores, I don’t always get pants that are the correct length so I need to hem them. And as you see in the photo below, the person who owned them before me needed them shorter because the hems are frayed in places and had a crease where they had been cuffed.
Here’s how I went about hemming the pants to the right length for me and getting rid of those frayed hems in the process.
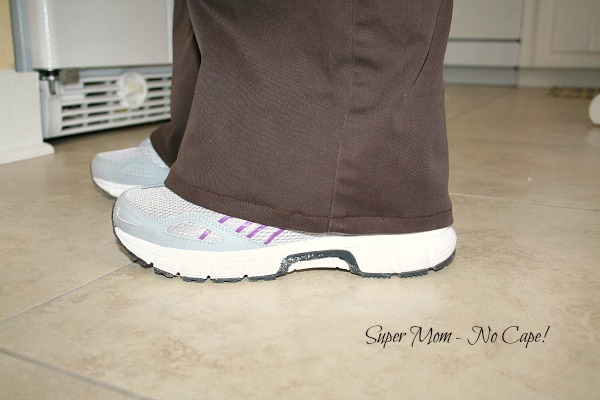
It turned out that where these pants were cuffed is the perfect length for me. But if they hadn’t been, I would have tried the pants on, folded up the hem to the desired length and had my assistant (Dave) pin the hem to hold it in place.
First, I unpicked the existing hem.
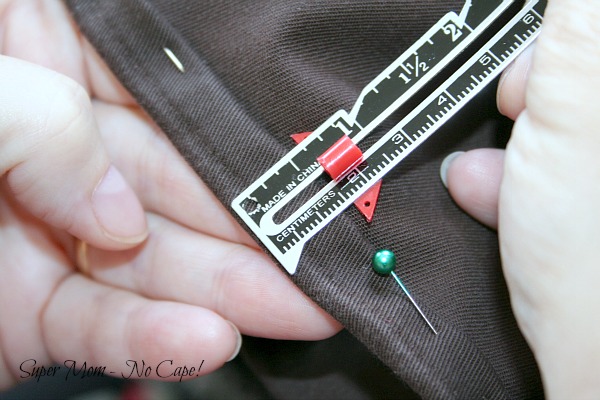
Then I turned them inside out and pinned the hem to the correct length.
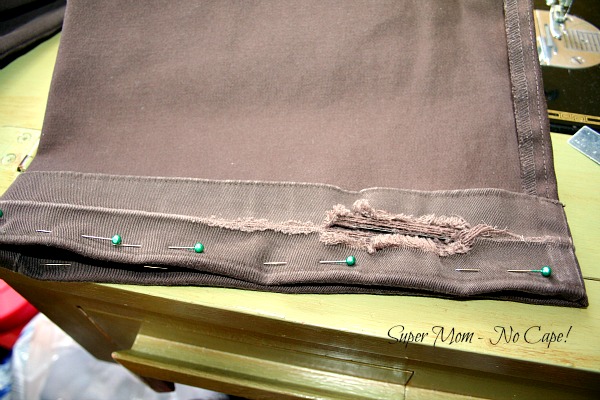
Next I trimmed off the excess fabric leaving me with 1 inch. You’ll notice that even after trimming, there remains some frayed fabric.
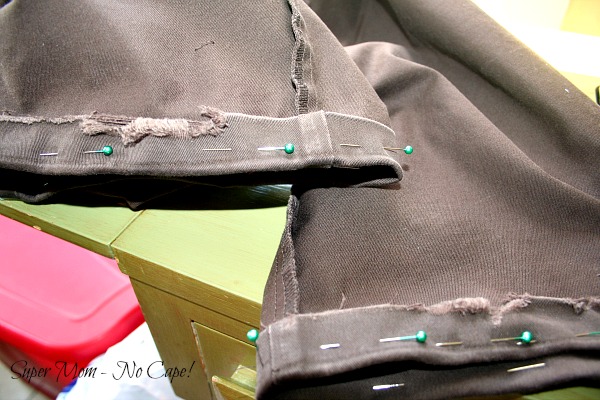
Then I folded the fabric under ½” all the way around to give me a ½” finished hem.
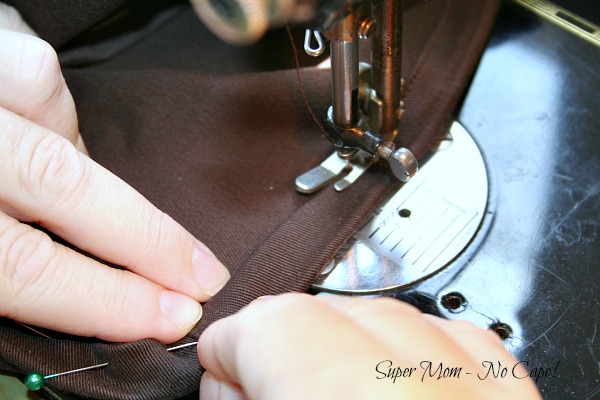
As I didn’t have an open arm machine, I then turned the pants right side out to make it easier to stitch the hem close to the folded edge.
And here they are, hemmed to the perfect length:
Note: I hemmed these pants while we were still in Florida but scheduled this post ahead as I wasn’t sure exactly how the month of May was going to play out as far as where we would be at any given time.


1 Comment
Cathy
May 11, 2013 1:40 pmFound you through Sew Many Ways Find a Friend Friday. Love your blog!
Hugs, Cathy
Comments are closed.