


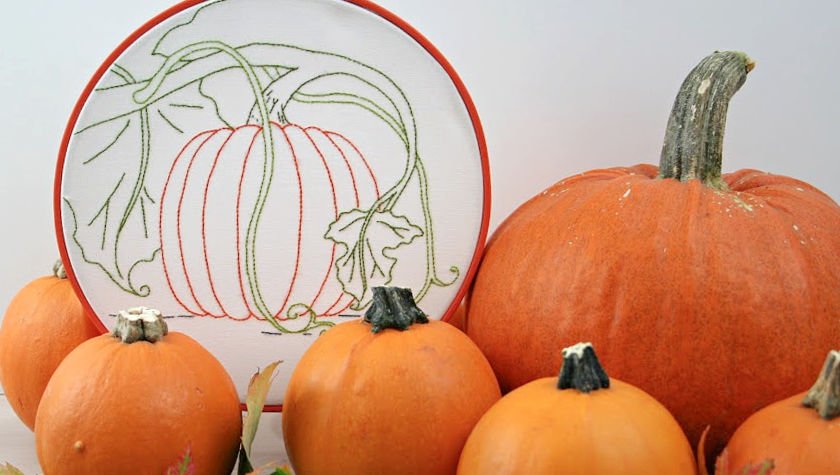
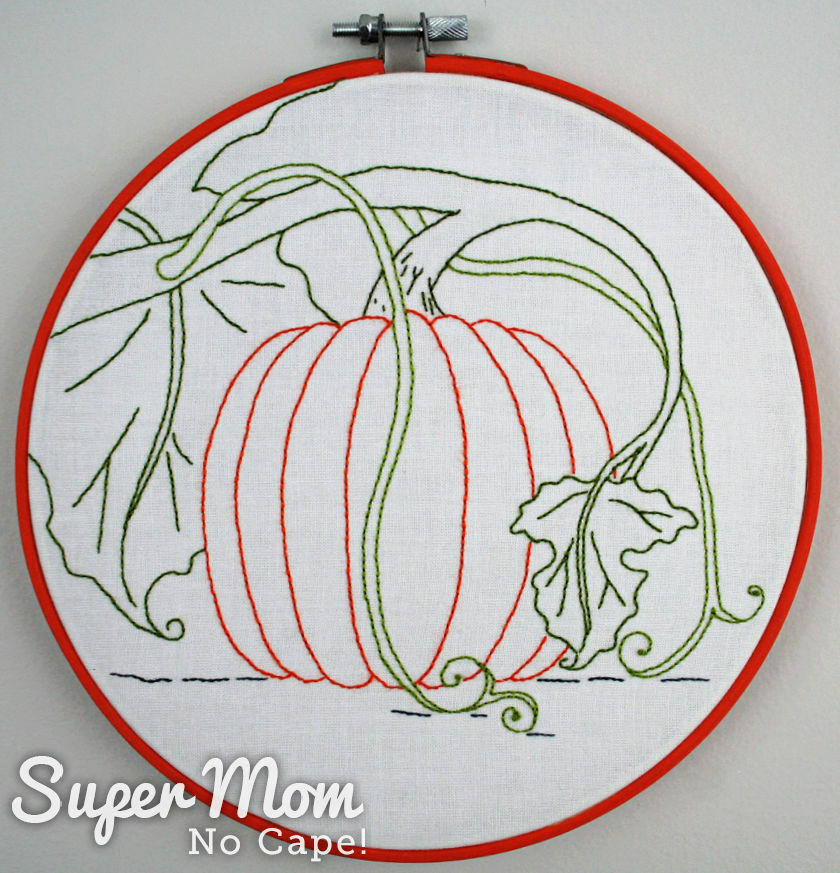
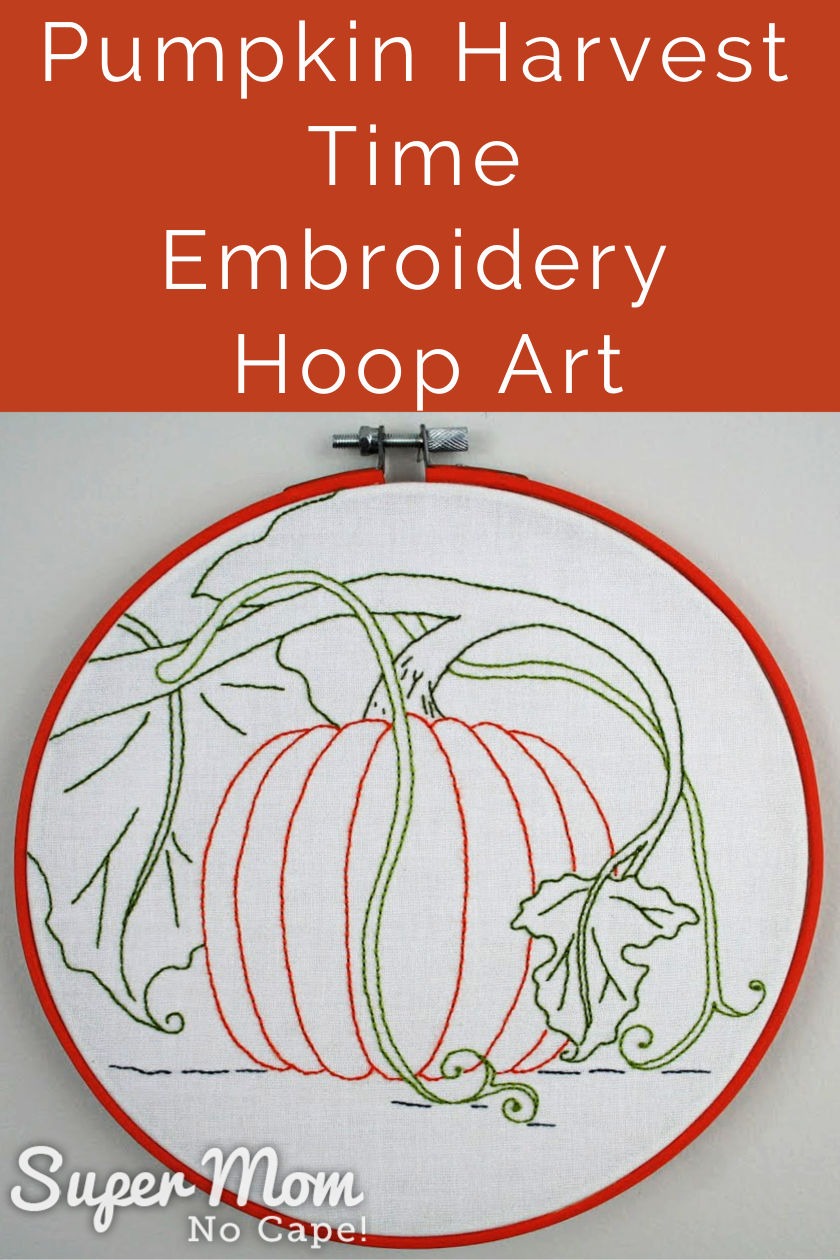
October here in the northern hemisphere brings cooler evenings, leaves changing to red, orange and yellow and pumpkins available everywhere from road side stands to farmers’ markets and grocery stores. I’ve designed this beautiful Pumpkin Harvest Time Embroidery pattern for you to stitch for fall.
It’s framed simply in a wooden orange painted hoop.
But the design would look beautiful embroidered onto each corner of a table cloth, table topper or the ends of a table runner Perfect for your table for Thanksgiving.
For this project, you’ll only need to know the most basic of embroidery stitches; the backstitch and French knot. But please feel free to choose other stitches to make it your own.
This is a fun, beginner friendly embroidery while at the same time being an easy, relaxing project for the more advance embroiderer.
Instructions to make one Pumpkin Harvest Time Embroidery Hoop Art

Materials required:
- 12” X 12” square of light colored fabric
- Embroidery floss in your choice of colors
- 8″ Wood embroidery hoop
- Acrylic Craft Paint (optional)
Begin by printing off the Pumpkin Harvest Time Embroidery Pattern that’s available for purchase in my shop.
Remember to have your printer set to 100% or no scaling otherwise the pattern won’t print out to the correct size.
Trace the pattern onto your fabric using a light source of some kind.
A brightly lit window works great if you have younger shoulders than mine.
However, due to a shoulder injury, for the past several years I’ve been using a Huion lightbox
It has turned out to be one of the best craft room purchases I’ve made.
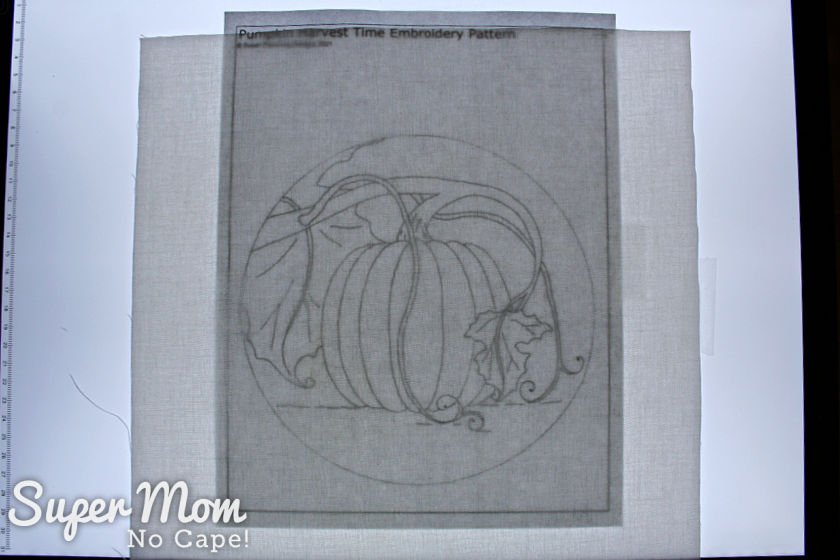
The advantage of a lightbox is that I can sit down to trace patterns on a level surface.
One really cool feature is that it remembers the last light setting I used. If I have to stop tracing half way through for some reason, when I come back I just tap the “ON” button and the light automatically returns to the same level.
My favorite tracing marker is this Clover Water Erasable Marker.
After you’re finished embroidering, the lines wash out with a spritz of water.
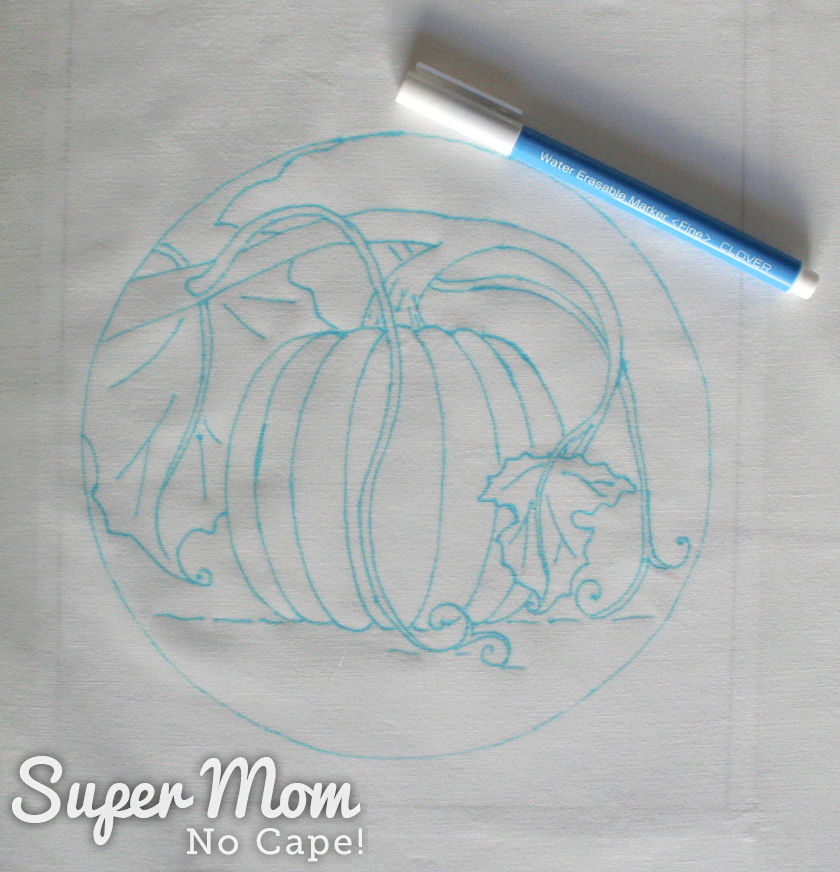
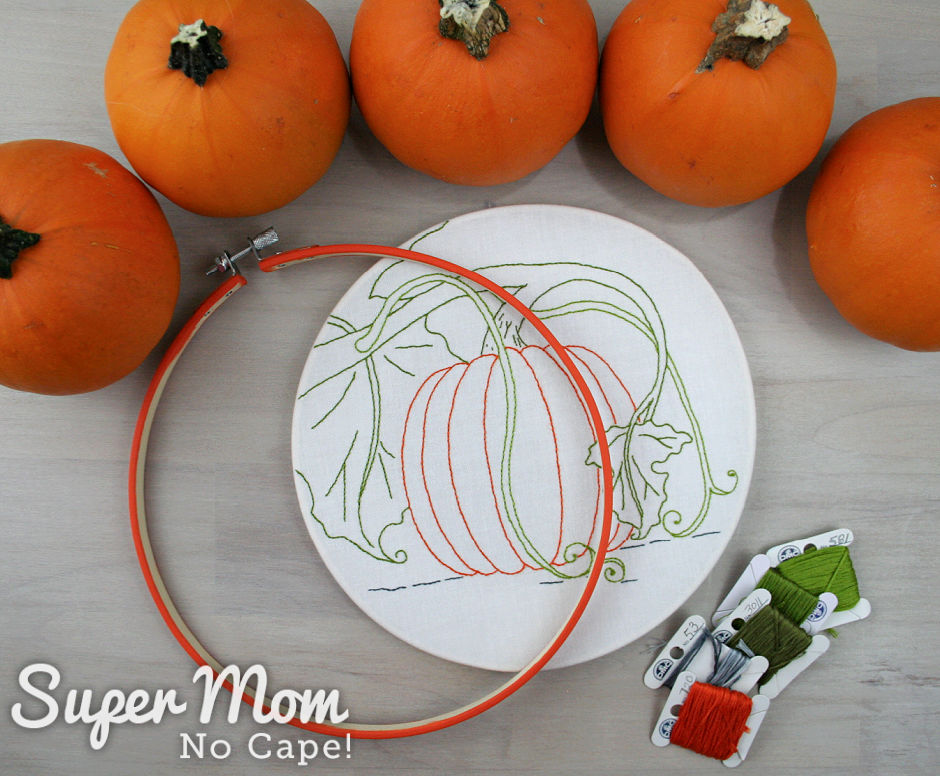
Once you’ve got the pattern traced, embroider in floss colors of your choice.
If you want to use the same colors that I used for mine, I’ve listed them below.
Please note: All elements of the design are completed using two strands of floss.
The pumpkin is stitched using DMC 720 Dark Orange Spice.
Stitch the stem of the pumpkin in DMC 3011 Dark Khaki Green.
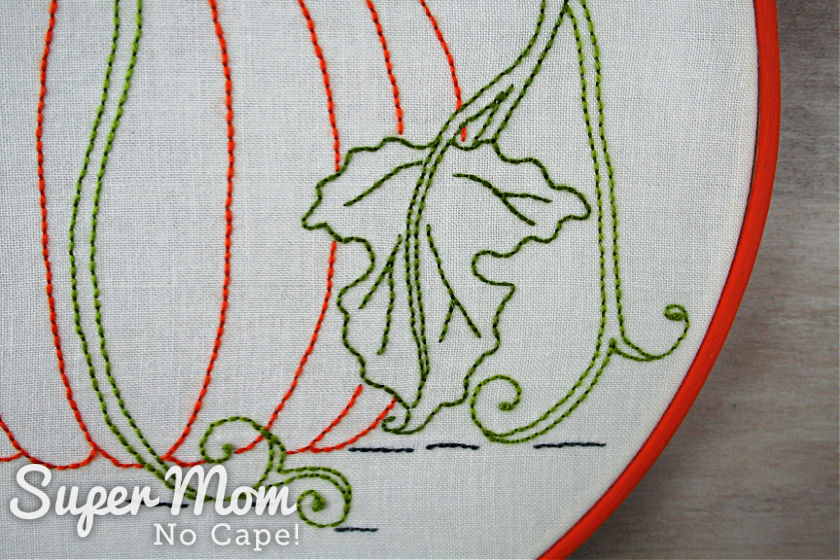
The main vine is done in DMC 580 Dark Moss Green.
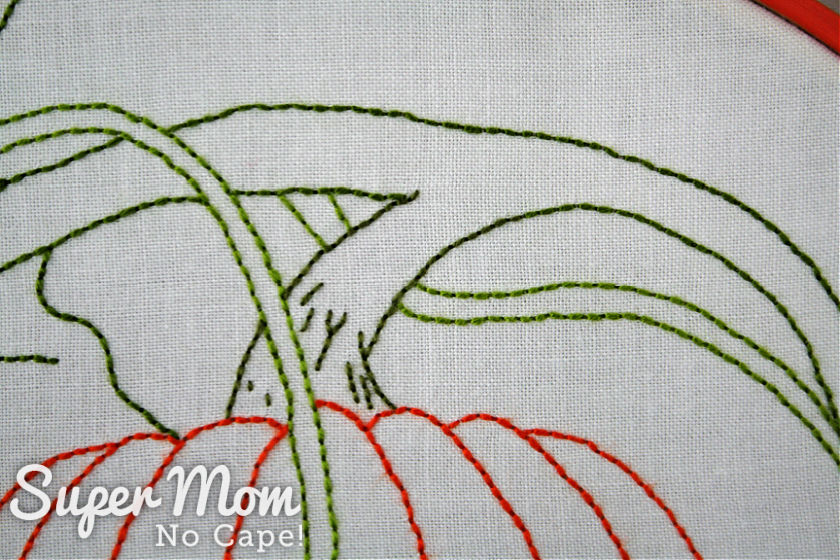
The DMC 580 Dark Moss Green is used for both leaves.
Stitch the narrower vines in DMC 581 Moss Green with a French knot worked at the end of the curlicue.
The ground is stitched using the darkest shade of DMC 53 Variegated Steel Grey.
Once the embroidery is complete, it’s ready to be hooped.
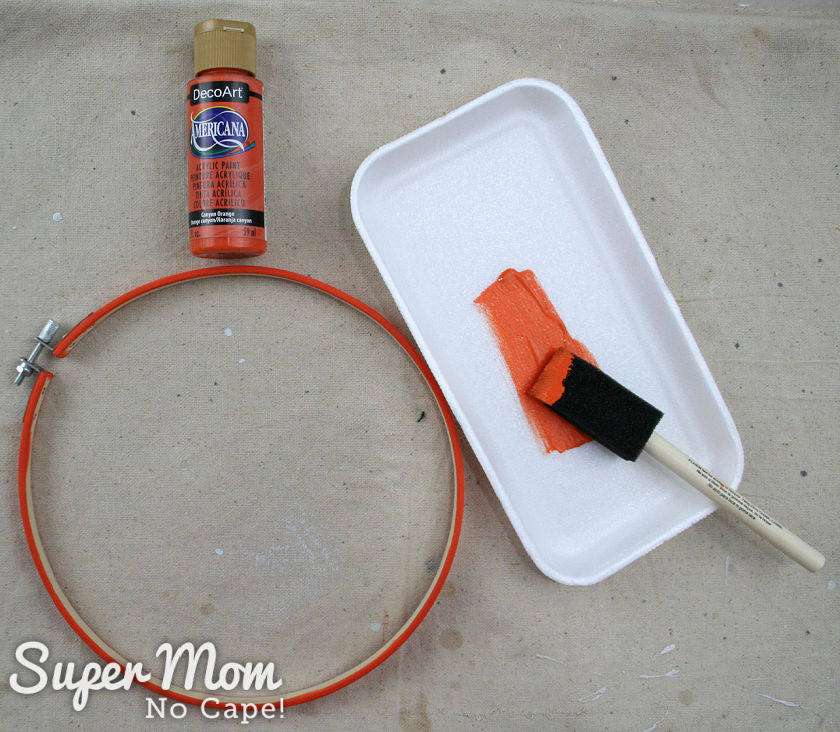
If desired, paint the wood embroidery hoop in a color to match either the pumpkin or the leaves. As you can see, I chose to paint it with DecoArt Canyon Orange.
Note: It can take up to 3 coats to get good coverage.
For step-by-step instructions on how to cut your finished embroidery and frame it using the embroidery hoop, please go to my Owain Owl Embroidery Pattern.
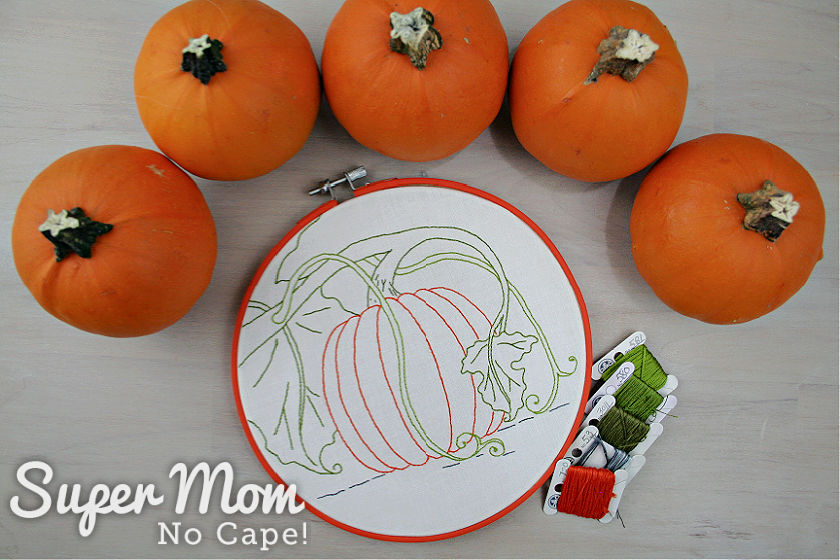
Your completed Pumpkin Harvest Time Embroidery Hoop Art is ready to hang.
It would also looked pretty displayed with different sized pie pumpkins.
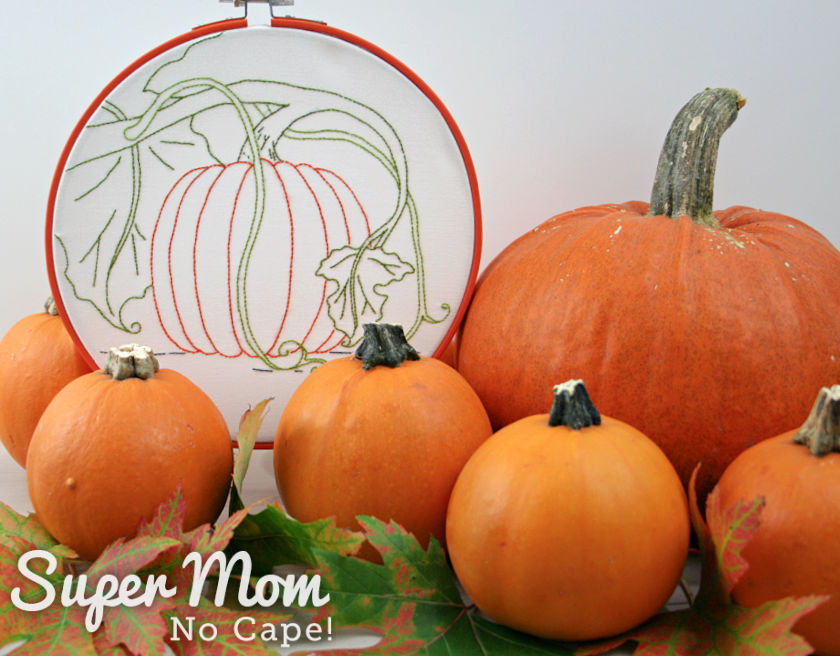
Side note: Please support your local small farmers. Those cute mini pie pumpkins pictured above came from a vendor at our farmers’ market and the larger pie pumpkin I bought on a recent visit to a young family owned farm where I buy our pastured eggs and grass-fed beef and lamb.
I’d love to see your versions this pretty fall embroidery. Please post a photo somewhere on social media and tag me so I can visit. I’m @supermomnocape on Instragram, @1SuperMomNoCape on Twitter and @1SuperMomNoCape on Facebook.
Be sure to save this post to your favorite Pinterest board by clicking on the button underneath this post.
And of course, I’d love it if you share it on Facebook and Twitter as well. 


2 Comments
Linda C
October 29, 2021 8:17 pmThis is gorgeous! I LOVE to embroider and have since a kid, though not near as well as I do now, LOL.
Super Mom No Cape
November 1, 2021 7:55 pmThank you so much, Linda! I’m glad you like it.
Comments are closed.