


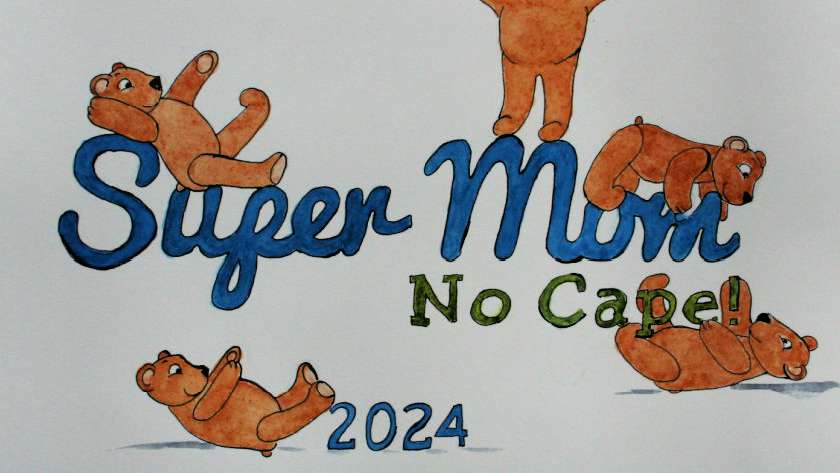
Happy New Year to one and all! We wish you a year full of aloha and prosperity! As 2024 rolls in, Sue has created a wonderful watercolor calendar for you all, full of nostalgia and whimsy as teddy bears frolic throughout the year. This year, Sue has created corresponding embroidery patterns to go with each month’s illustration. Digital downloads of…

Add that touch of handmade charm to your tree this year. Make one or more of these easy DIY Christmas Ornaments. There are 10 different ornaments to choose from. All you’ll need are some basic sewing or embroidery skills. Some ornaments are a combination of both. Each tutorial has complete step-by-step instructions with lots of photos. They’re especially perfect for…
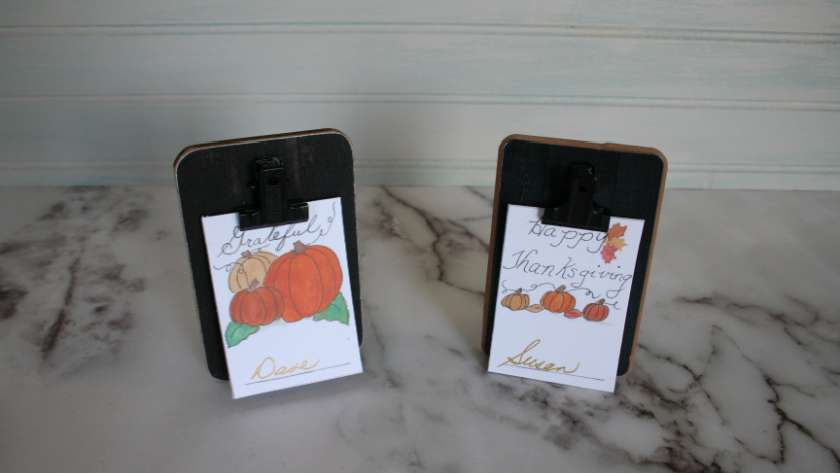
Have you got a crowd coming for Thanksgiving dinner? Let your guests know where to be seated with these pretty printable Thanksgiving place cards available for free in my shop as my Thanksgiving gift to all of you. I found these cute little card holders at Michaels: ere are the mini clip boards with the…
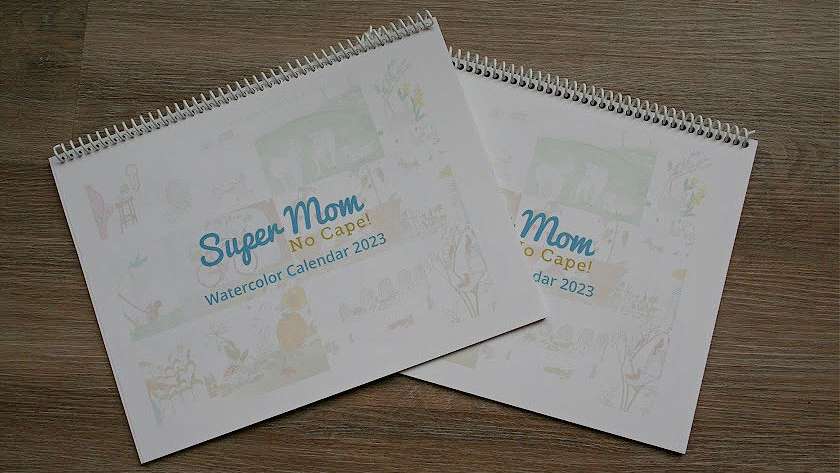
It may seem a little late to be posting about a calendar for 2023 since we’re already almost 3 months into 2023. But getting this together for you took me longer than I expected. I started to work on the watercolors for each month in August of 2022.As mentioned in the post called Pattern Sale with a Purpose, I suffered…

If you’ve got turkey leftover from Thanksgiving, Christmas or some other occasion then this Leftover Turkey Enchilada Tart is a delicious way to use it up. It’s super simple to make. About 15 minutes prep time, 35 to 40 minutes in the oven and you’ve got supper ready to go on the table. Ingredients: Double batch of…

Dear readers, You may have noticed that Sue hasn’t posted in a while. Our family has been trying to cope with multiple tragedies since the end of 2021. On December 21, 2021, Sue’s daughter, mentioned here on the blog as DD2, passed away in a car accident on her commute to work. She leaves behind her partner, young son, mother,…
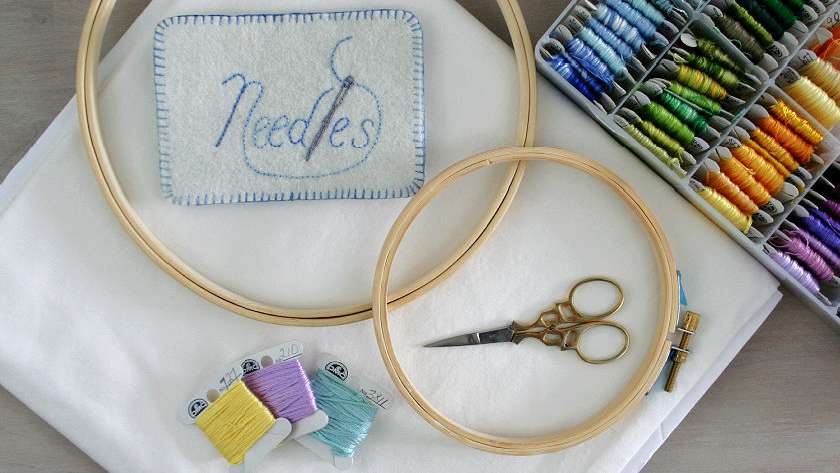
If you’re looking for the perfect gift to give the embroiderer in your life then you’ve definitely come to the right place. I’ve been embroidering for over 40 years and in this Embroidery Gift Guide, I’ll be sharing some of my favorite embroidery supplies. One of the great things about embroidery is that it needs very few supplies to get…
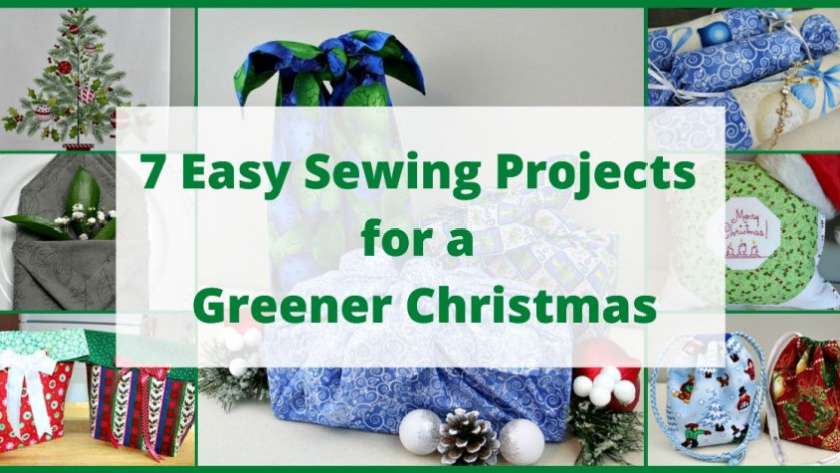
This year, perhaps more than ever, many of us are looking for ways to transition to a more sustainable lifestyle. We’ve all read headlines about the amount of waste that is generated world-wide over the holiday season. So with the holidays fast approaching, I thought I’d share with you some easy sewing projects for a greener Christmas. The great thing…
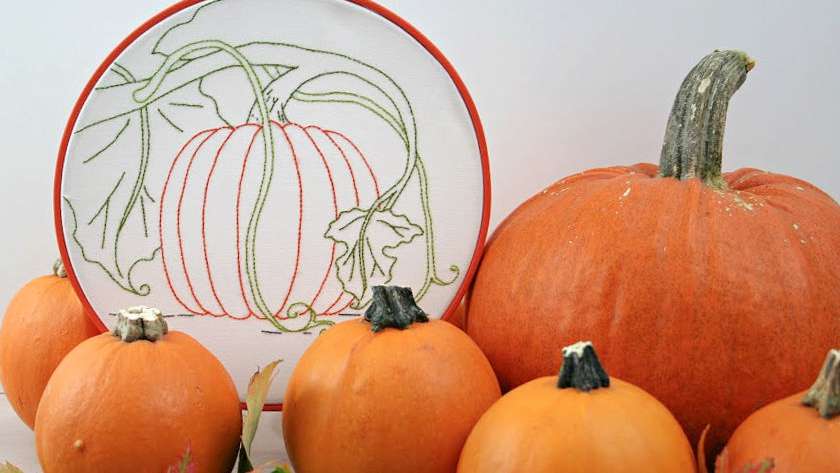
October here in the northern hemisphere brings cooler evenings, leaves changing to red, orange and yellow and pumpkins available everywhere from road side stands to farmers’ markets and grocery stores. I’ve designed this beautiful Pumpkin Harvest Time Embroidery pattern for you to stitch for fall. It’s framed simply in a wooden orange painted hoop. But the design would look beautiful…
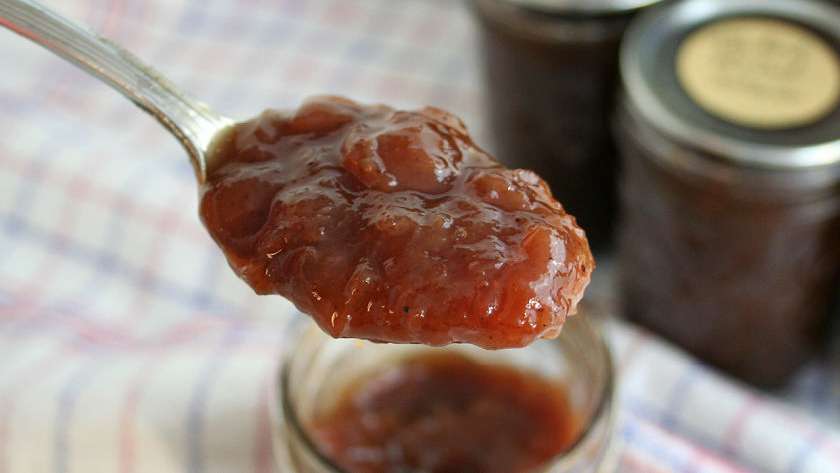
Got an abundance of rhubarb growing in your garden? Don’t let your rhubarb patch go to waste. Make a batch of this delicious tangy sweet Rhubarb Relish. No rhubarb patch? Ask a neighbor if you can pick some of theirs. But even if you have to buy some at the farmer’s market, the cost will be totally worth it. This…