Last summer, the sheets were on the line when we had one of those pop up thunder storms come through. We hurried out to rescue the sheets before they got soaked. They hadn’t had a chance to completely dry, so we decided to hang them over a couple of bedroom doors.
Except… when I was trying to fling the fitted sheet over the door, it didn’t go over far enough, so I gave it a bit of a tug (something I’ve done lots of times before.) But this time when I did it, I heard that awful sound of ripping fabric.
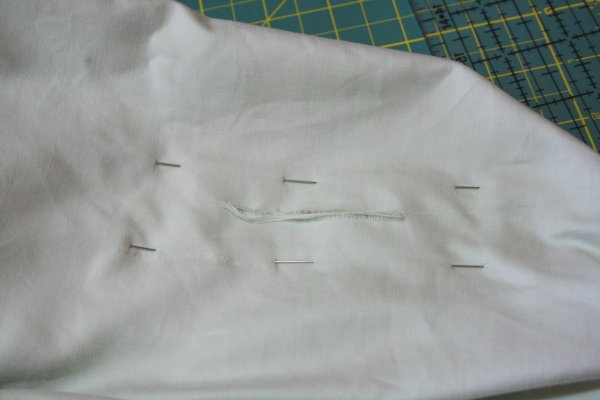
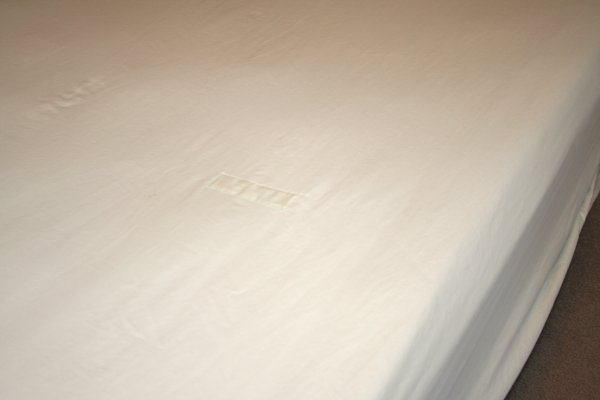
Just look at that:
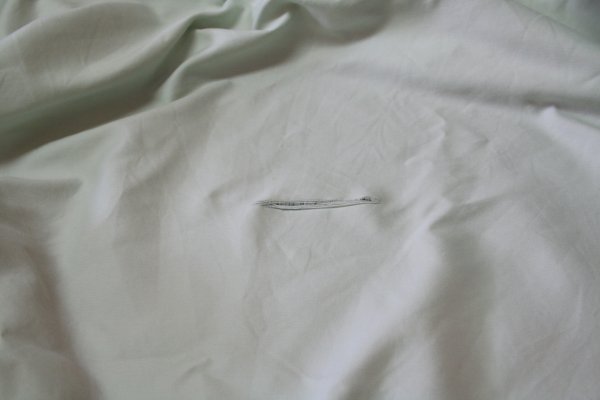
I was so upset, because these sheets are only a couple of years old and should have lasted several more years.
Here’s how I went about mending the tear:
First, I needed some matching fabric for the patches, so I used the end of one of the pillowcases that go with this set of sheets.
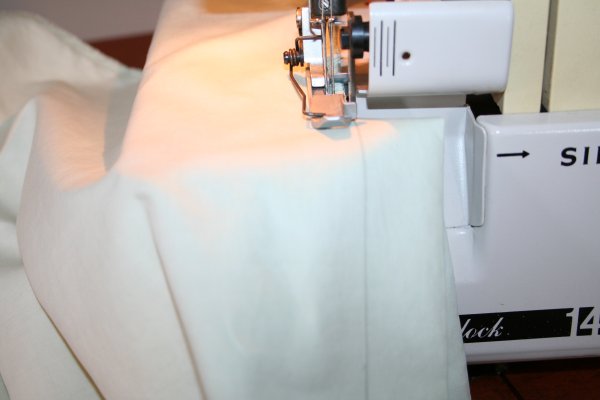
I turned the pillowcase inside out and then measured and drew a line an inch from the end of the pillowcase.

Then I sewed along that line with my serger to close up the end of the pillowcase and the piece that got cut off became the fabric for the patches.
As the end of the pillowcase was on a fold, I got a strip 2” wide.
I measured the tear to determine what size of patch I needed to cut.

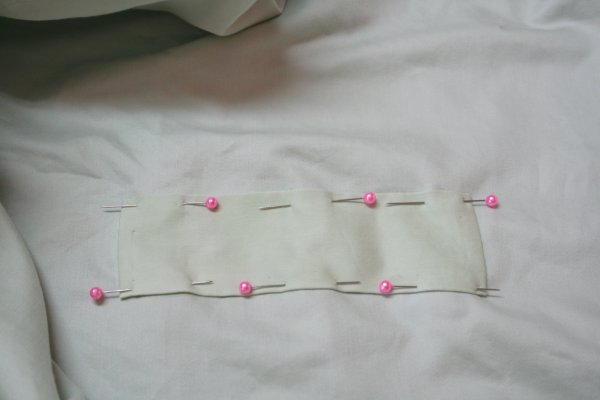
I like to have a good size patch covering any tear in fabric that I’m repairing, so I cut the patches 5 ½” long.
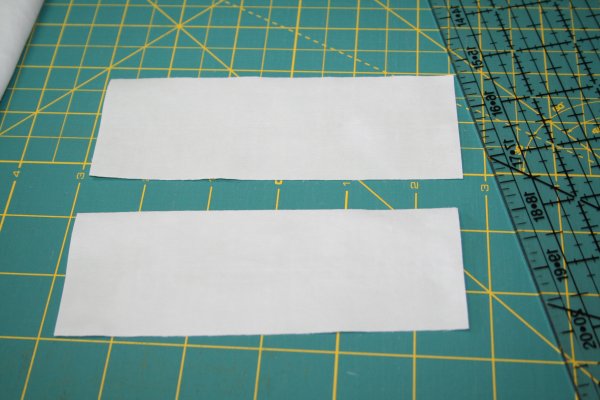
Next I folded and pressed under a ¼” all the way around each 5 ½” X 2” patch.

Then on the wrong side of the sheet, I pinned the first patch in place, making sure to have the tear centered in the patch.
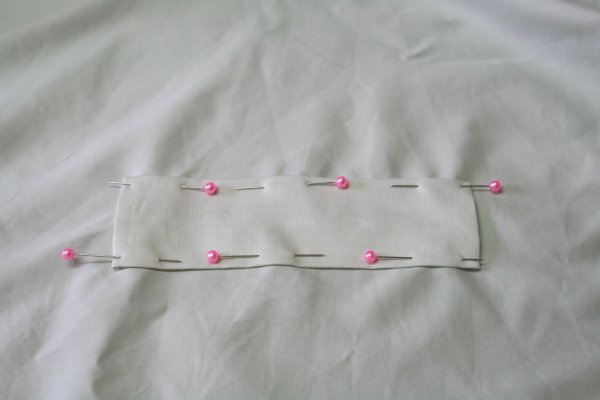
A tip when pinning… think about which direction you’ll be sewing along each side of the patch and place your pins so that the points are away from you.
I then machine basted that patch in place.
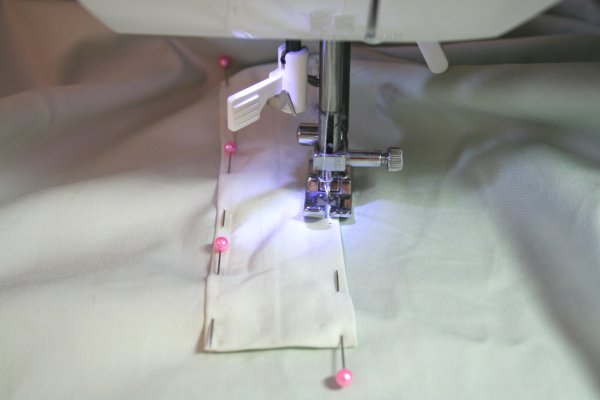
The sheet was turned to the right side and the second patch was pinned and sewn in place, making sure that I lined up the top patch over the patch on the wrong side of the sheet.
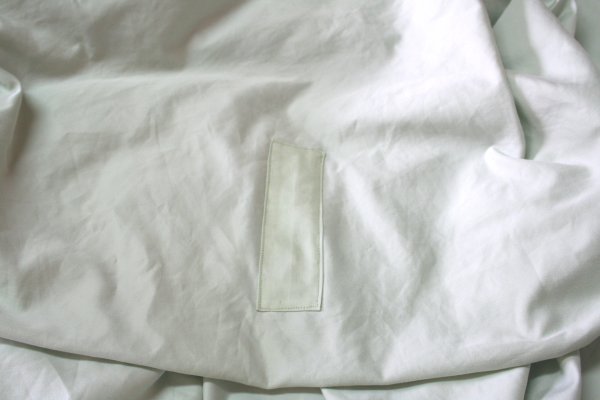
Patching both sides of the sheet may seem like overkill but from past experiences with mending sheets, I’ve found that a single patch doesn’t have the durability of this double patching method.
Case in point… six months later and the repaired sheet is still in use and the patch has remained strong.
Note: Our sheets were one of the things I packed to bring with us. It was great to have them when we were in the temporary housing in Ontario at Christmas time. It helped it to feel a little more like home. And they will do so again once we’re settled somewhere.