


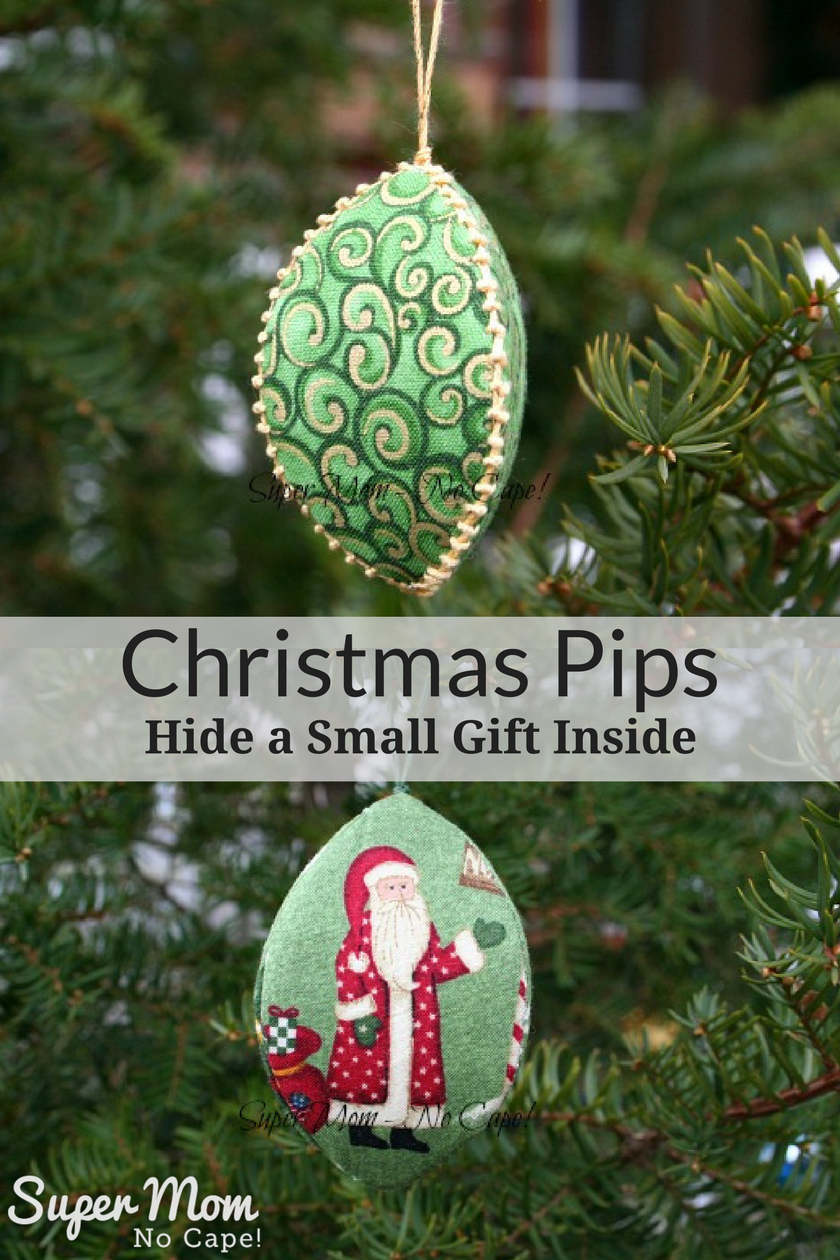
Are you looking for a creative way to wrap a small treasure for gifting this year? Christmas Pips made from my Thimble Pip Tutorial are the perfect solution!
They will hold a pair of earrings, a brooch or even a ring!
For small children, add candy and coins to them.
Then hang them on the tree. The gift will be hidden in plain sight!
After Christmas and for years to come the pips will be a sweet reminder of the surprise that was inside!

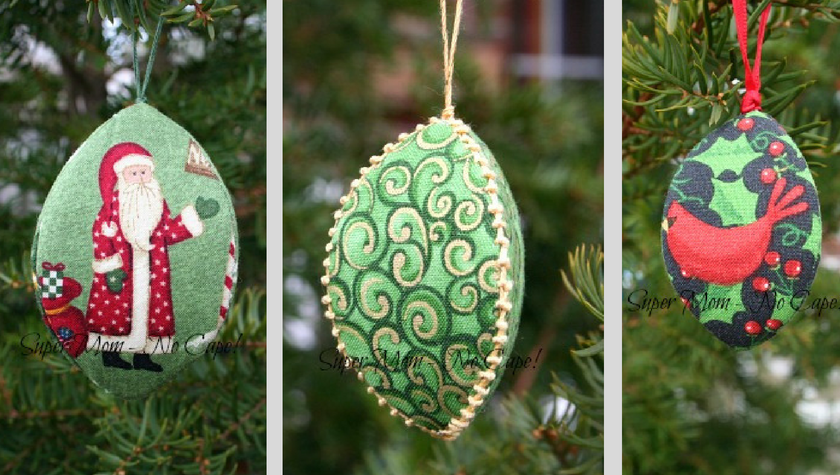
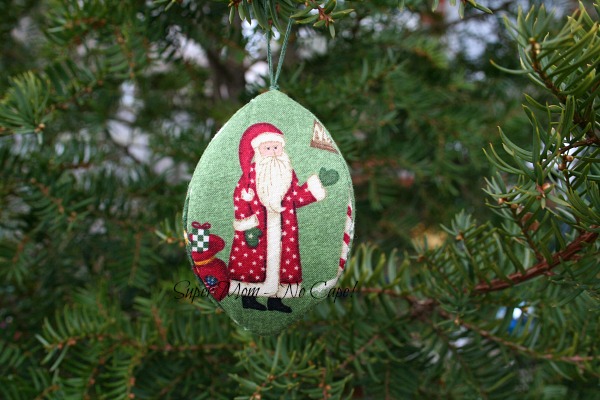
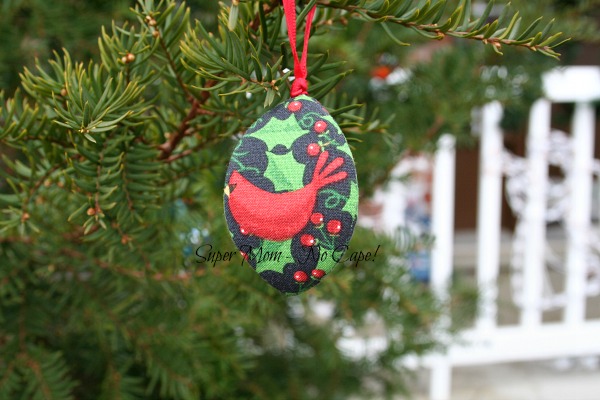
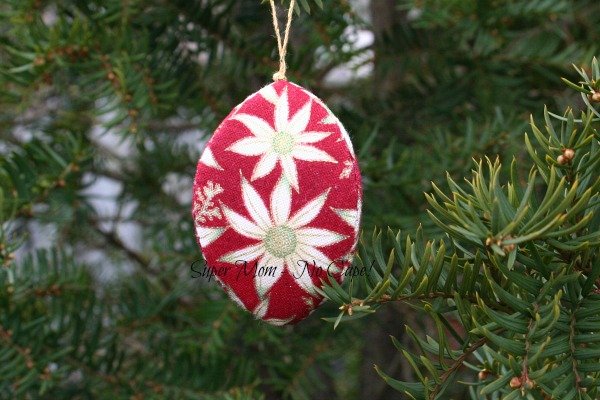
These first two Christmas Pips are examples of pips made using the 2.5 inch outer forms.
The rest of the pips were all made using 1.5 inch outer forms.
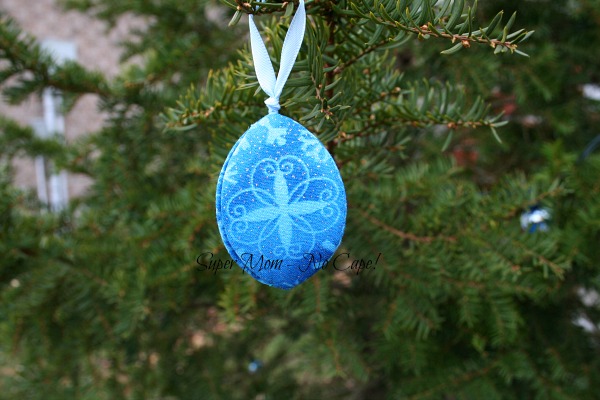
It wasn’t my intention when I chose this blue fabric, but after I finished it I realized that this would be the perfect ornament to give a little girl who loves the movie Frozen.
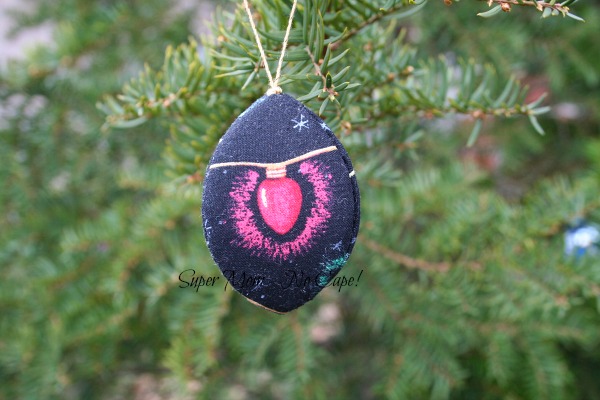
This Christmas Pip has a different colored light bulb on each side.
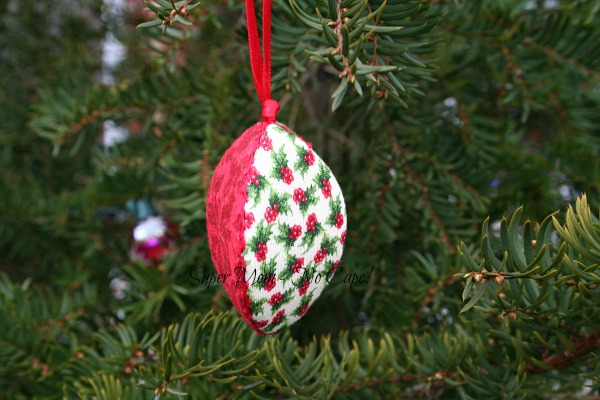
For each side of the Christmas Pip below a different fabric was used to cover the outside pip forms and then a herringbone stitch was embroidered along two sides but not on the side of the pip that opens.
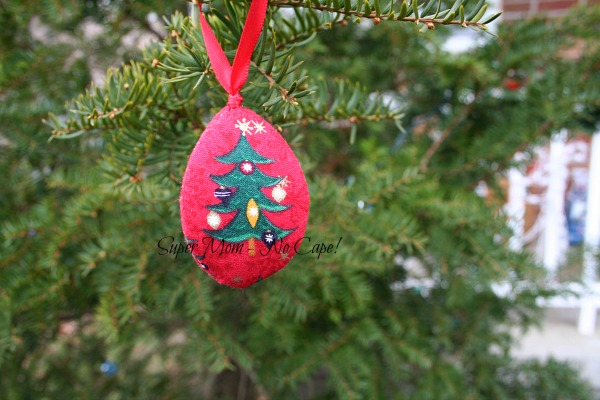
Have fun picking out just the right fabrics to make Christmas Pips to hang on your tree!
The only difference when making them as opposed to making the Thimble Pips is that you want to make sure that if you’re fussy cutting a novelty fabric, position the print vertically on the pip rather than horizontally.
Tip when using lighter weight fabrics: Adding lightweight fusible interfacing
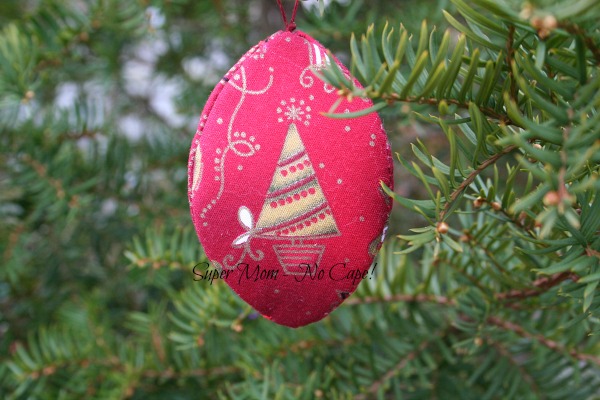
These last two Christmas Pips, were featured without their hangers in my Thimble Pip Tutorial post.
Add the hangers by threading ribbon or cording from the inside through the top of the pip.
The two closed sides of this beautiful green and gold Christmas Pip were embroidered with the palestrina stitch using gold embroidery floss.

Click through to find out how to make them…
Thimble Pip Tutorial!
If you make some of these cute little Christmas Pips, please do post about it somewhere on line and tag me so I can come see. I’m @supermomnocape on Instragram, @1SuperMomNoCape on Twitter and @1SuperMomNoCape on Facebook.
Please feel free to follow me on any or all of them.
Other Christmas ornament tutorials you might like to make:
The Prairie Point Star Ornament Tutorial is my most popular tutorial.
These Sawtooth Star Ornaments with Applique Centers would be a fun way to add a mini quilt to your tree or to give to someone who loves quilts.
These beautiful Embroidered Angel Wings would look elegant on any tree or hung in a window.
Christmas Button Lace Ornaments are a fun way to introduce children to the sewing.
For even more DIY Christmas Ornaments, be sure to check out the Handmade Ornament Exchange where over 150 ornament tutorials have been shared.
Be sure to save Christmas Pips by clicking on the Pinterest button underneath this post.
And of course, I’d love it if you shared it on Facebook and Twitter as well. 🙂
This post contains affiliate links. For more information please check my Disclosures and Disclaimers page. It doesn’t cost you any extra, but it does help support this site.


5 Comments
Marsha
November 29, 2015 12:42 pmThese are lovely Christmas ornaments, Susan. Thanks for sharing these and your tutorial is very easy to follow.
Wendy
December 10, 2014 11:53 amthey are lovely Susan, what a great addition to the family’s tree
maria
December 7, 2014 10:16 amOh those Pips are all sew cute……
Kate
December 6, 2014 3:08 pmThey’re beautiful Sue!
Celtic Thistle Stitches
December 6, 2014 3:31 amYou have had a real production line going there Susan, they are all lovely.
Comments are closed.